I recently recovered my dining room chairs in Jamil Natural fabric as you may already know. Once the upholsterer was finished with the work, I asked him to save any leftover fabric for me because I had a little DIY in mind. He returned over a metre of fabric to me so I decided I wanted to create a leopard print bolster cushion for my bed.
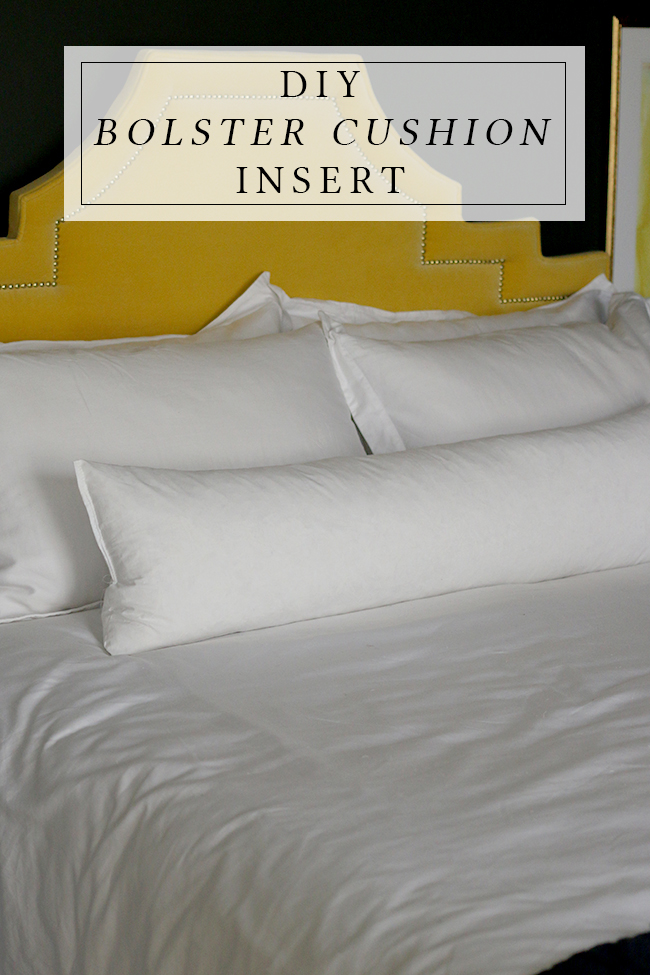
Now, it would have been fairly easy for me to just buy a large bolster cushion insert. There are loads of them on eBay and online (the square ones are usually referred to as ‘pregnancy cushions’ strangely but there ya go) but they all seemed to be 19″ high. Well, I didn’t want a huge cushion, just something long and narrow to go across my bed. I’ll get to the finished product in a bit but I needed that insert before I could make my cushion cover so I thought, how hard can creating one really be?
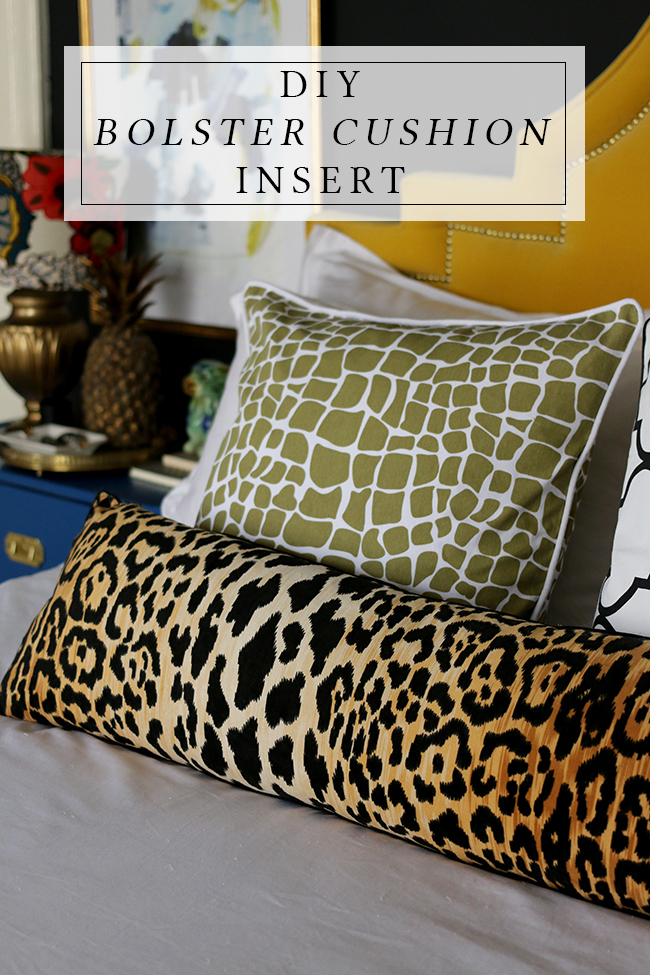
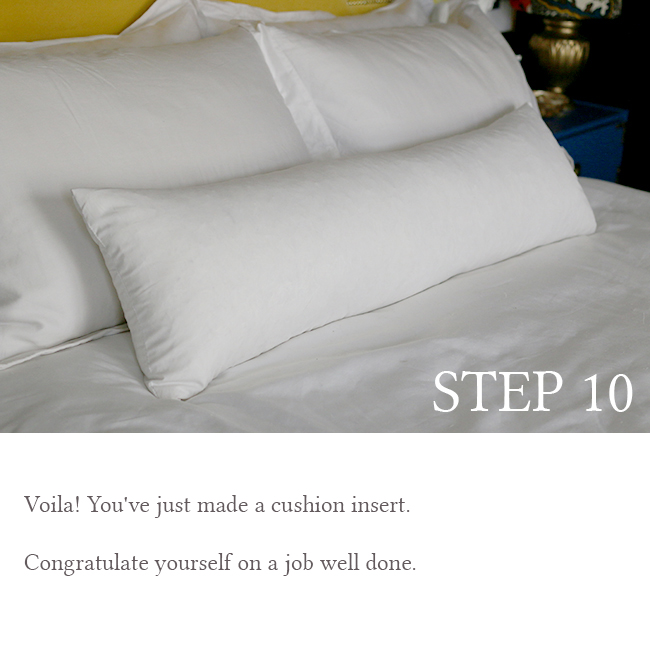
Surprise, surprise, it was incredibly simple, took me less than an hour to make and cost me around £12. Not bad for something that was really large, exactly the size I wanted and luxuriously down-filled.
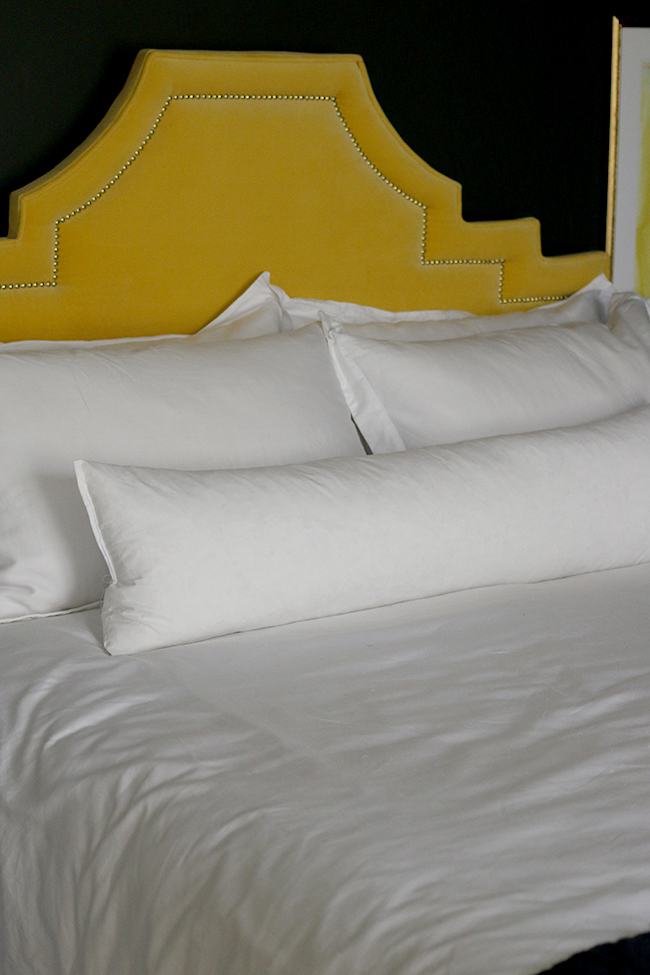
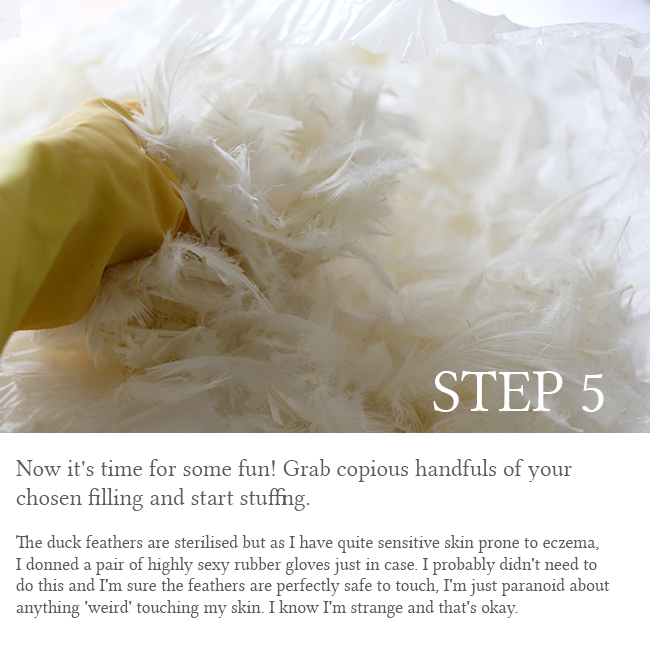
So this little tutorial may be specific to bolster cushions but the principals remain the same. You can literally create any size or shape you want to and making your own cushion insert (for those of you not adverse to a bit of sewing) couldn’t be easier. I choose to fill mine with a duck feather down which makes for a wonderful “fluffable” soft cushion but you can always use hollow fibre fill as well if you don’t want the mess. And yeah, working with feathers is a bit messy but utterly satisfying, trust me.
Here’s what you need:
- 1 metre (1 yard) white cotton poplin fabric (I purchased this one)
- 1 kilo (apprx 35 oz) feather down filling (I purchased this one)
- white thread
- a sewing machine
- a standard sewing kit (pins, needles, scissors, etc)
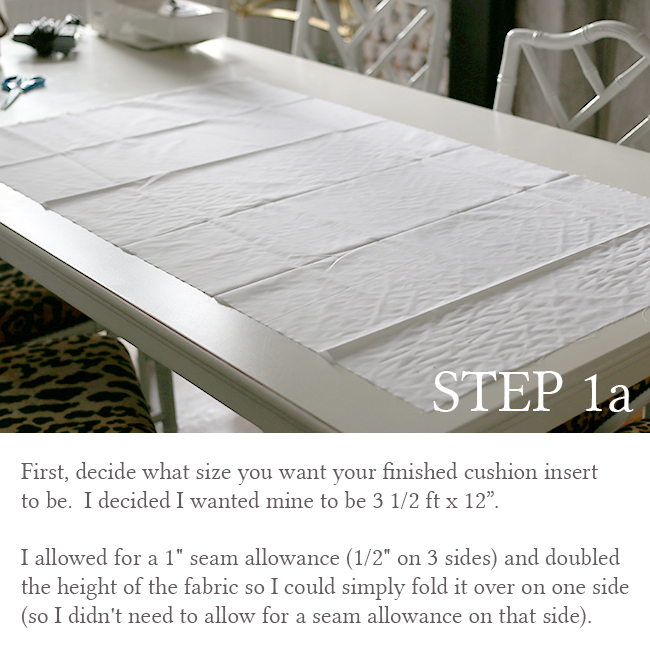
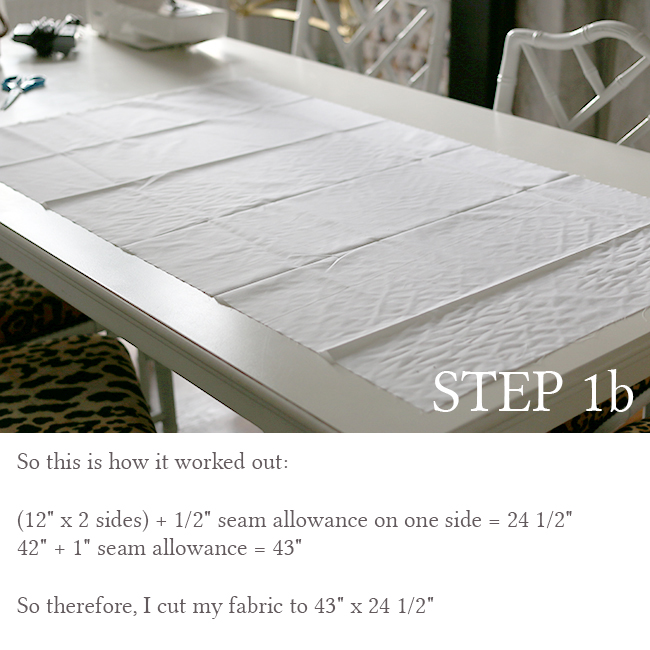
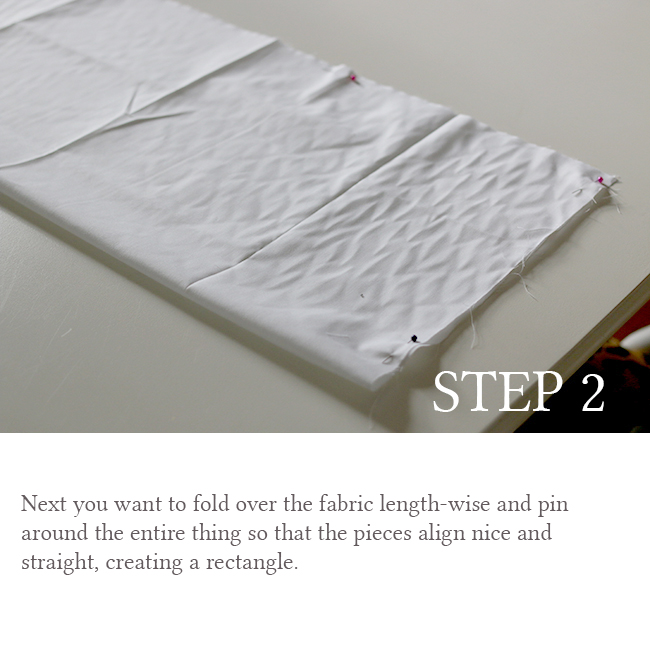
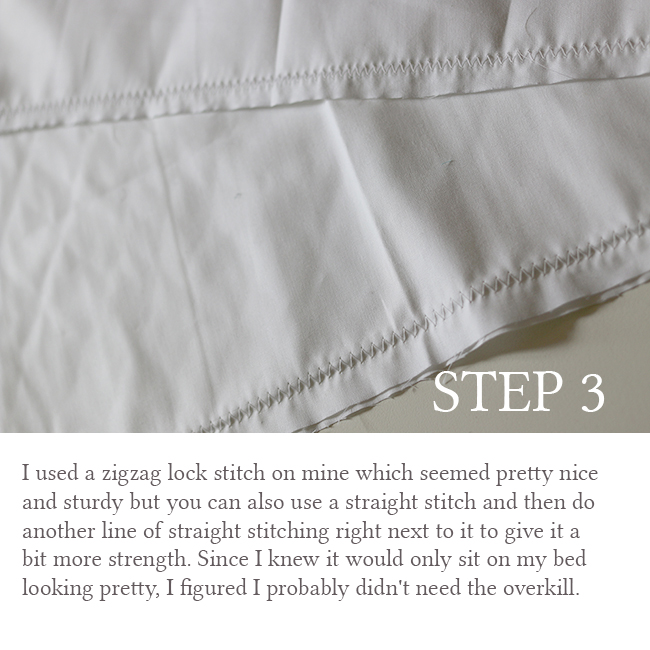
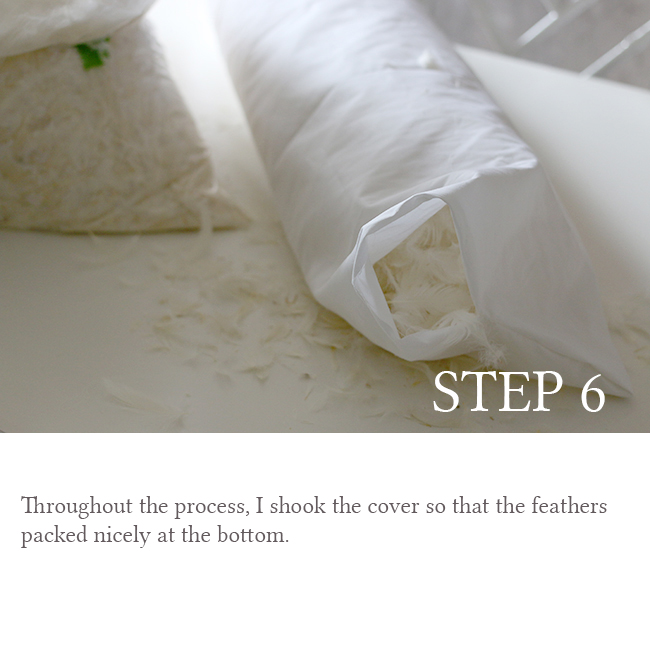
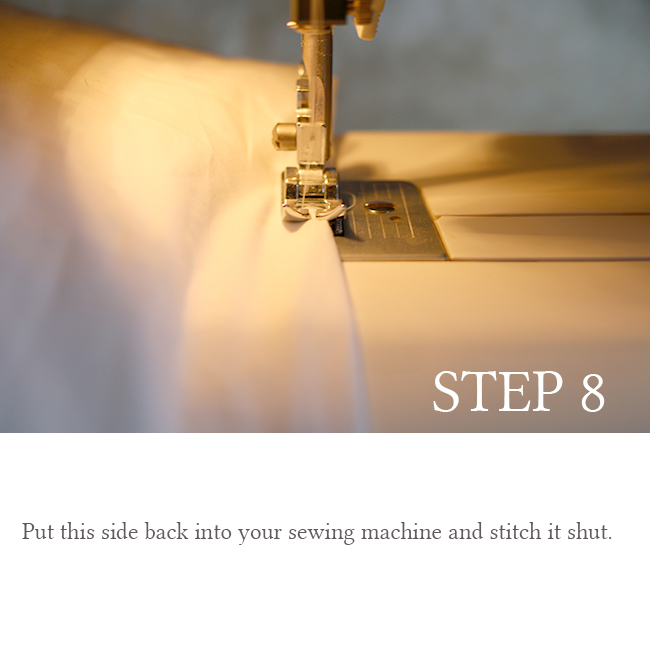
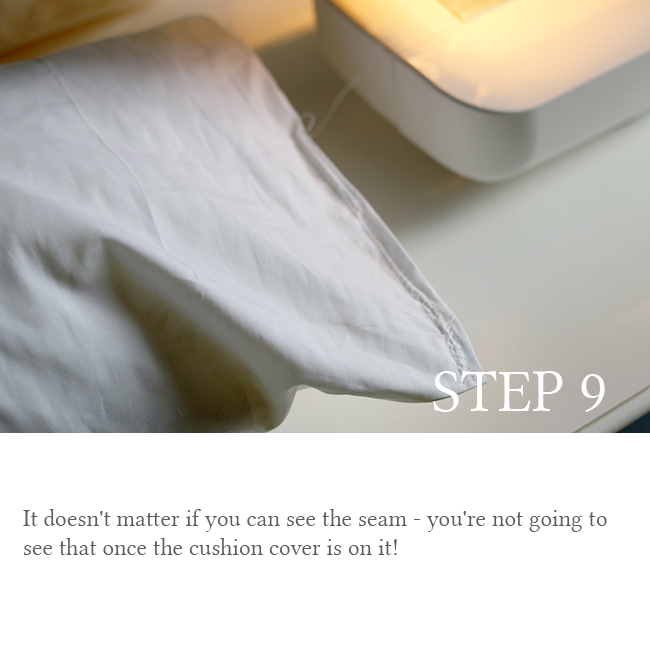
Click the slideshow for a step by step of the process:
Now I was going to share with you the process of making the actual cushion cover but I made so many small errors on it that it wasn’t really worthy of a tutorial. I didn’t allow quite enough for my seam allowance and had to keep fixing my errors along the way – it doesn’t make for a particularly good post let me tell you and stressed me right out. Oh well, a domestic goddess I am not.

In the end, the cushion looks absolutely fine – I just wouldn’t want any seamstresses coming over to inspect my work because it’s certainly not perfect but nothing you can actually notice when looking at it!
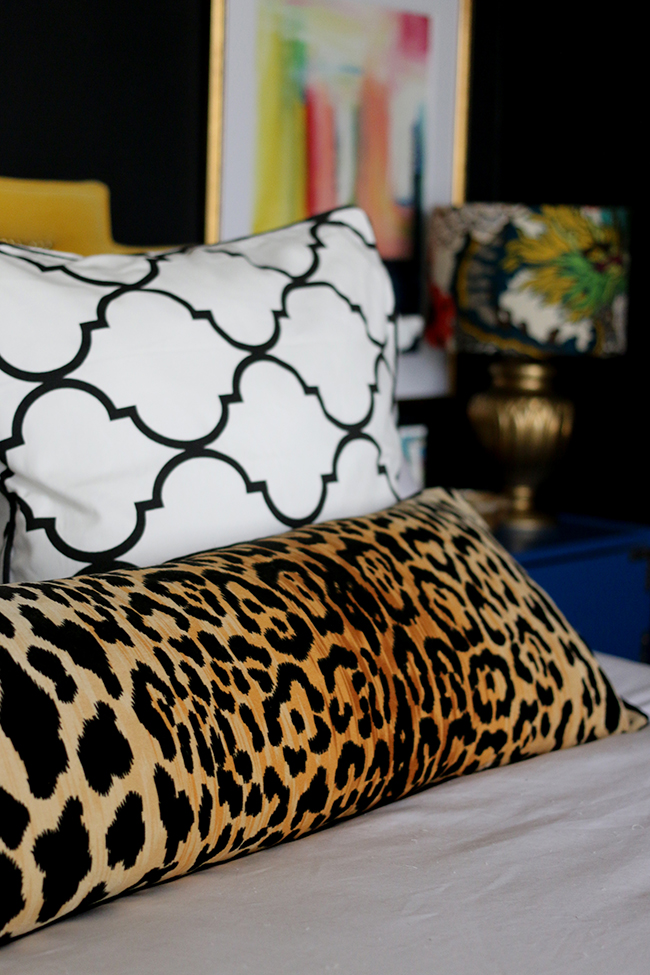
Can I just take a moment to mention my Eve mattress* is holding up so well! I’ve just had so many questions about it since I posted my review that I wanted to give you a little update. I love it so much and we both get such a good night’s sleep on it (you can see how badly my sleep patterns can be here). I actually resent having to sleep anywhere else when we go away because I miss my bed!! So if you are looking for a great mattress with a 100 day money back guarantee, definitely check them out.
*denotes affiliate link – you don’t pay any more but I earn a few extra pennies towards pretties for the bedroom! Win win!
You may also be wondering about the other cushions behind the large bolster. Those were gifted to me by my bloggie friend Tiina from Elce Stockholm. She just has the most amazing designs and I was over the moon when the parcel arrived. Aren’t they just stunning? And incredibly good quality too.
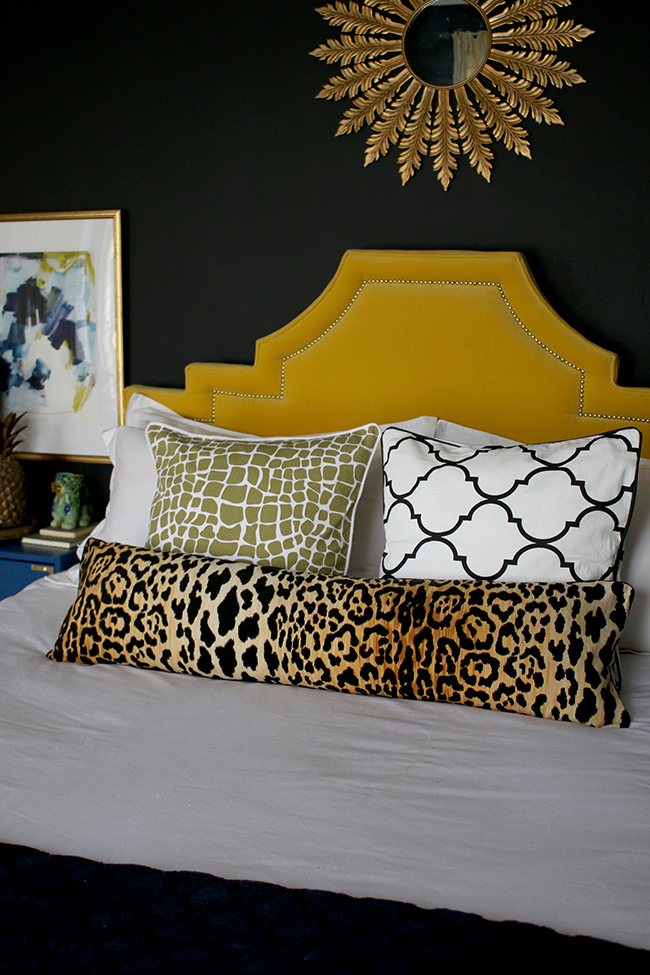
You can check out where to buy them on her site here. Wayfair UK also stocks a selection here. I wasn’t under any obligation to blog about them but of course, they are far too pretty not to share!
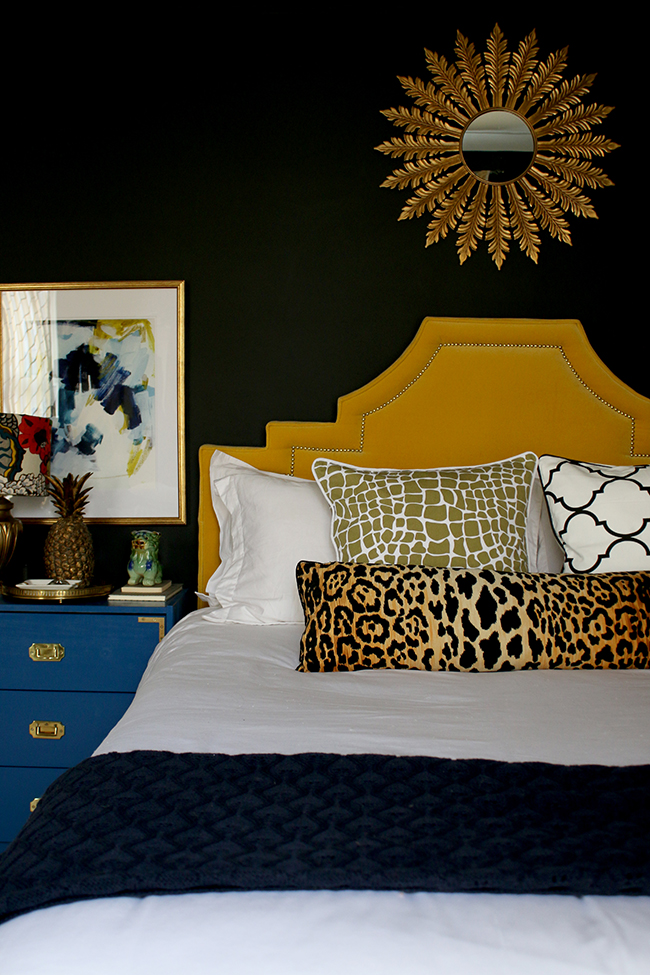
The navy knitted throw, if you are wondering, is from Sainsbury’s! It’s super soft and lightweight and part of their new SS16 line. I’ll be sharing more about that in a couple of weeks.
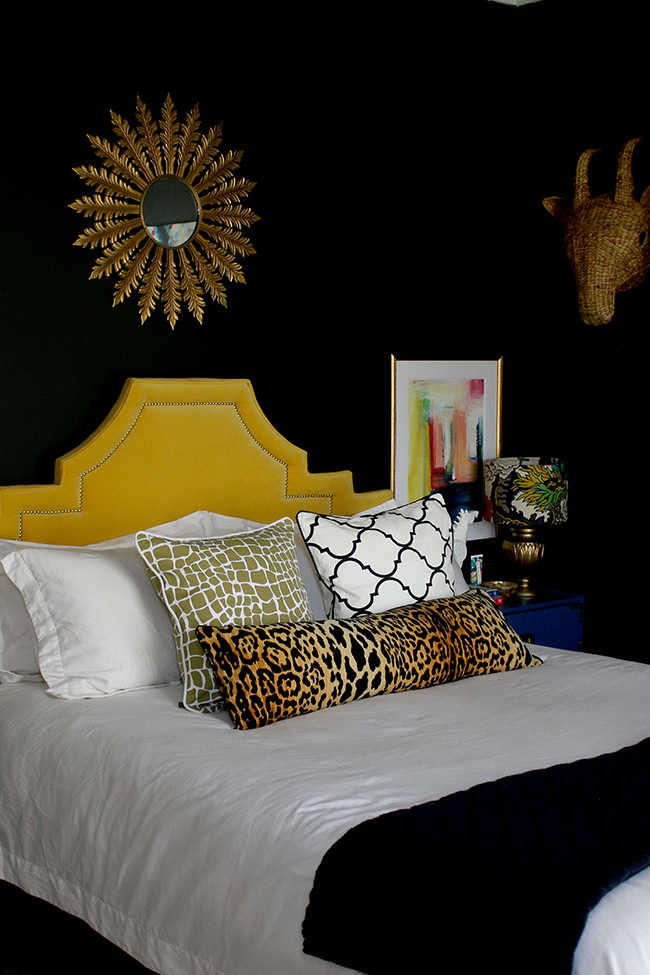
In the end, it ended up being a bit of a Spring update on my bedding and I’m loving the fresh new look. The bolster is incredibly supportive – perfect for sitting in bed watching Netflix on my tablet.
Is this a DIY you would try? What do you think of the new look?




It looks great!! I was looking at some long cushions at the weekend, but they were do expensive. Im not as clever as you to go and make my own though!!! Cx
Ahh thank you Caroline! It’s SO easy, I promise ;) and much cheaper than buying them ready made! xx
Aw, great job! And it doesn’t look “handmade” – if you know what I mean – but very luxurious and sophisticated. Fab update for your bedroom :-) xo
Thanks darling! You know I hate a DIY that looks like a DIY if you know what I mean! lol xxx
It’s so long since my sewing machine was out I’m not sure where it is anymore! Great job. It looks amazing and very high-end :-)
Thanks Carole! I do love it but just don’t look too closely at it – ha! I’m such a perfectionist and the air around me was BLUE when I was making the cover ;) xxx
You are SO clever. I am terrified of sewing machines and even though you made this look so easy. It would take me about 2 days to thread the bloody machine up by which time I would have had two panic attacks and downed a bottle of fizz. Looks fab though. My LO would have loved to have helped you with all those feathers! :) xx
Hahaha! Honestly the bolster insert was super easy but the cushion cover was causing me heart palpitations! So stressed out because I kept messing it up! LOL! And I had to kick the cats out of the room, they were way too curious about all those feathers ;) xxx
Your ideas are always so very clever and inspiring. The bloster looks fantastic and so does your bedroom.
xx
Aww thank you so much lovely! Mwah! xxx
Your insert and cover are beautiful! I made two new pillow covers for my screen porch this weekend. AND like you all I could see was the imperfections. My husband only saw the time, effort and love I put into them (his words!). If anybody actually came over and pointed out the few “oops” – not sure I would want them back over! ? Great job on the step by step on making your own insert. Yes, I am up to trying it!
We are our own worst critics aren’t we?! Aww your hubby sounds like a keeper! The insert was so simple, I have no idea why I haven’t done it before ;) The cushion cover on the other hand was making me rip my hair out! Haha! xx
You are so clever! I have made cushion covers before but literally never even considered making the actual cushions! And you’re right, really hard to find decent long ones wide enough for a king size bed. Pinning this for a couple of months’ time when I will hopefully be decorating our new bedroom. Or maybe I will be busy making my flower girls’ dresses still! Yikes – so much to sew, so little time! x
Oh you’ll have to let me know if you try it! It’s so easy, no idea why I’d not considered it in the past ;) And good luck with the flower girl dresses! So exciting! xxx
Ahhh if anybody could turn me over to the colourful side it would be you ! I love your bedroom.
We (the royal we, my husband) is in the process of making me a large fabric footstool, again, far easier than you would think to make.
Aww thank you Karen!! Oh my goodness, your hubby is so handy isn’t he?! I would love a footstool in my bedroom as well – perhaps I should try that next ;) xxx
Hi Kim,
I have been a follower of your blog for some time, I’m a native of Manchester, now living in Canada, so I love to see what you’re doing to your lovely victorian home because I know the layout so well. I wonder if you would mind sharing where you purchased your lovely wall mirror in your bedroom. Great job on the bolster pillow by the way.
Barb
Oh that’s so nice of you to comment!! I’m from the States originally so perhaps I came from North America to swap with you ;) The wall mirror was originally from Linda Barker’s homewares site but it was from about 5 or 6 years ago and I painted it gold. I’ve seen a few online that are kind of similar though if you search around for small starburst mirrors :) Good luck and thank you so much! xxx
Thanks for the step by step instructions, im going to have a go at this. Xxx
Oh you’ll have to let me know if you give it a try Pauline – you’ll be amazed at how simple it is ;) Hope you are enjoying some sunshine! xxx
Goodness, you’ve been busy again! They look really good and totally go with your bed (love the headboard too).
Ha! I have no idea how to stop Rachel! Always something going on around here ;) Thanks so much! xxx
ooh i could so do with a cushion like that!
They are so easy to make Becky, you should totally give it a try ;) xxx
You have done a great job! It works great with the other cushions behind it as well. My husband gets so annoyed at cushions on the bed though.
Aww thank you Stephanie! Yeah my OH isn’t so keen either but he puts up with it because he knows I like them! What’s with men and decorative cushions anyway?! ;) xxx
Love a tutorial, makes it all look much easier! And I love a bolster cushion in a bold print on a bed – mine would be french stripes :) – it gives the bed some presence and is much cleaner and less fussy that lots of little cushions that can be a pain to take off and put on the bed each morning! x
I agree, I have been loving the look lately myself! You should have a go at making one – they are so easy to do, I promise ;) xxx
The print on the cushion really finishes off the room. I love it! I went on a beginners sewing course in January and enjoyed it so much. My creations leave a lot to be desired and I certainly wouldn’t want anyone leaning in for a closeup but it’s a lot of fun.
Aww thanks Rachel! I do love sewing and don’t do it nearly often enough myself – I’m not particularly great at it either to be honest (no closeups here either please lol) but it’s terribly satisfying ;) xxx
A bolster is such a good idea for a bed. I’m going to make one when we can get the kids permanently sleeping in their own beds! Love yours covered in the gorgeous leopard print fabric. Nothing amateurish about it – you’ve done a great job!
I love the new updates to your bedroom. It will remain my all time favorite bedroom