I’m back with one last DIY of the year and I think you’re going to like these totally glam marble and gold DIY coasters! They are inexpensive, super simple to make and yet manage to look gorgeous at the same time. I really love how these came out and they’ll definitely be coming out for any Christmas and New Years gatherings we’re having but really, they can be used all year round!
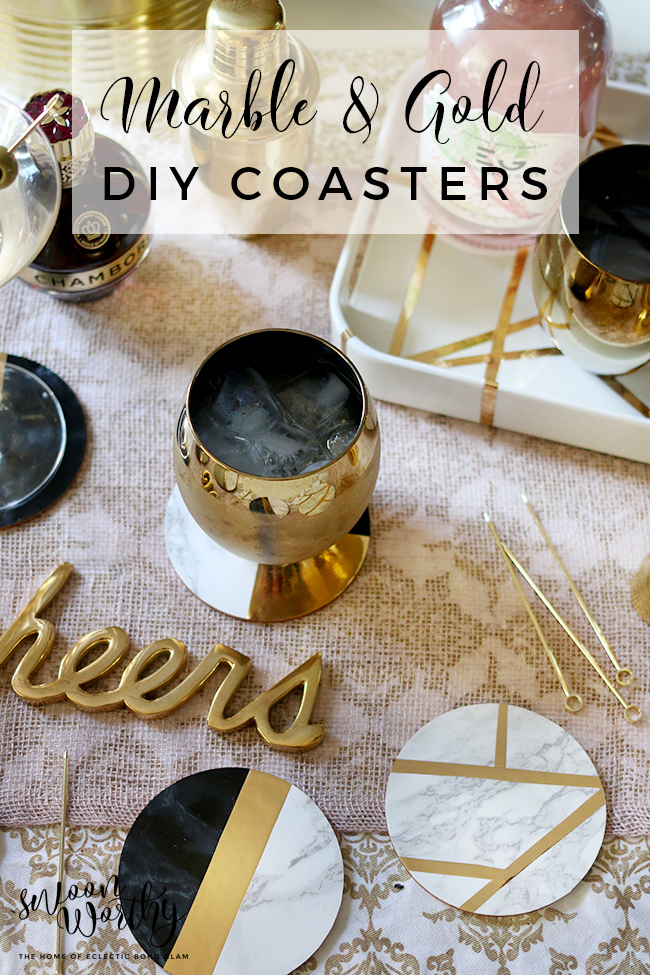
I’ve teamed up once again with SwiftCover for their #SwiftHomeHacks campaign and this little DIY is perfect if you are entertaining and want things to look like you made a big effort but don’t fancy a big expensive price tag to go with it.
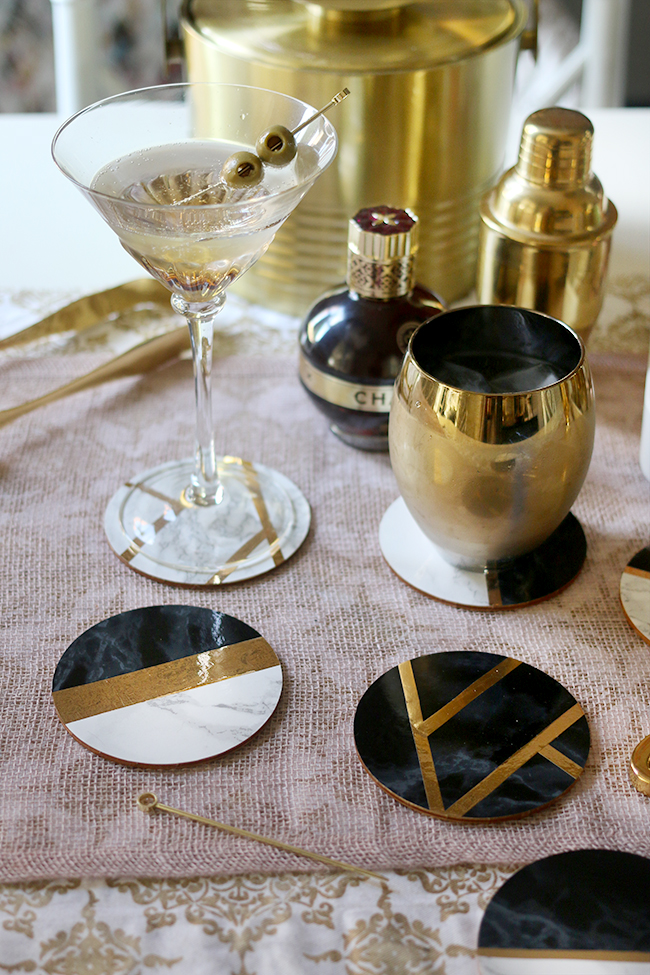
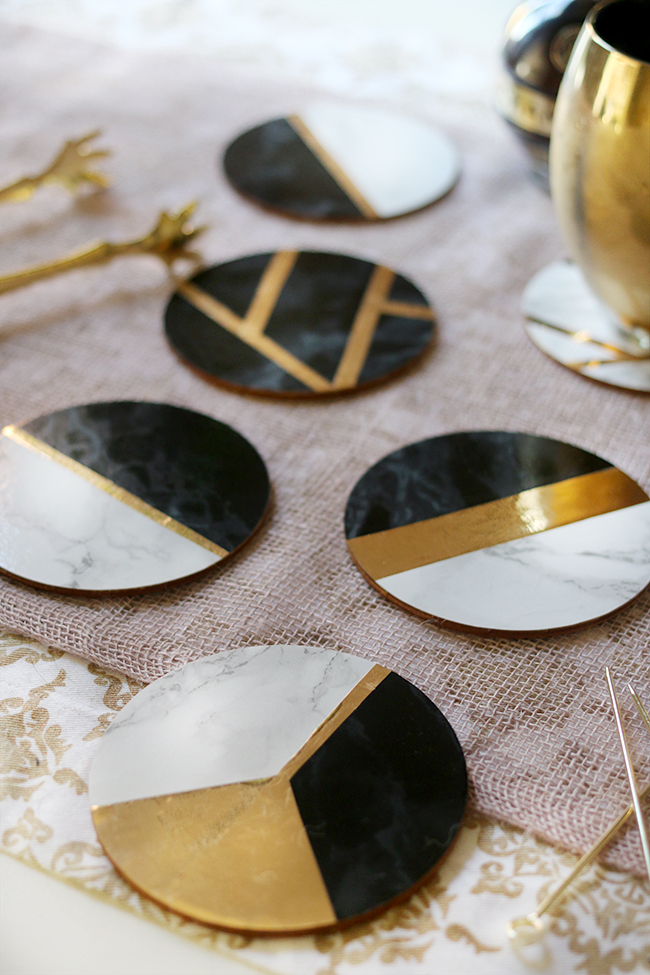
As you already know, I’m obsessed with all things gold and I’m a bit in love with the look of marble as well. I’ve used this sticky back plastic (ie., contact paper to my brethren across the pond) in white marble many times before but this time, I decided to go a bit dark and moody and so used a black marble pattern as well. The combination of the two along with gold was a winning one.
Want to see more of my DIYs with marble sticky back plastic? Faux Marble Shelf / Faux Marble Breadbin / DIY Skirted Vanity / Faux Marble Top Chest of Drawers
I reckon these would be perfect on a Christmas table, for an impromptu drinks party or you can make a set if you are having a little New Years’ eve soirée. The sticky back plastic is water-resistant as well so they are easy to keep clean – just wipe the top with a damp cloth and you’re ready to go.
Note: This post may contain affiliate links which are indicated by an asterisk (*). You don’t pay any more for clicking on the links but I may earn a few pennies towards pretties for the house – win win! Please see my footer for more information about affiliate links.
Materials:
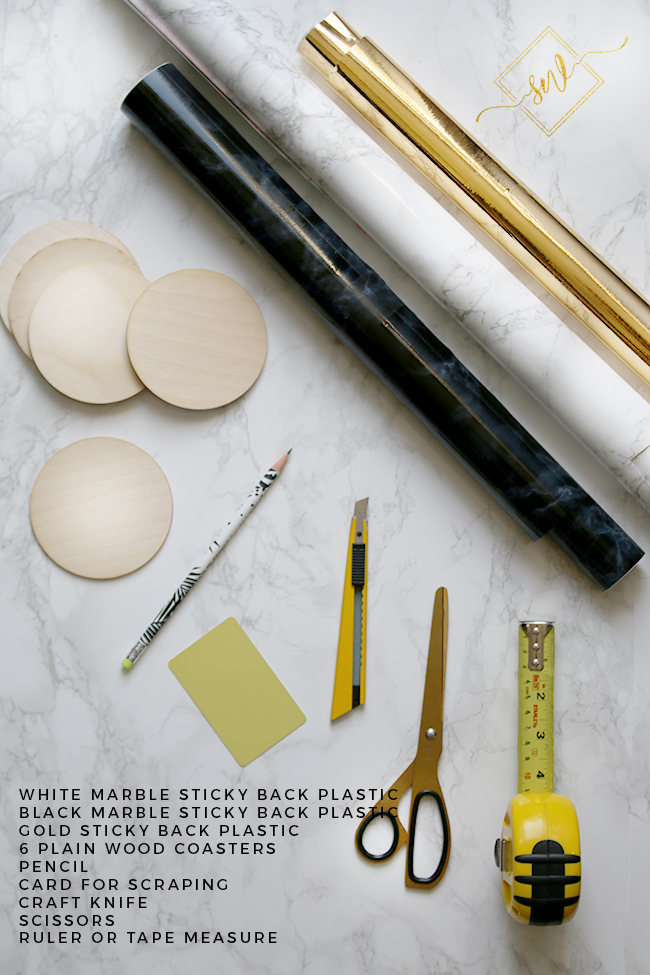
- 1 Roll of Carrara Marble Effect Sticky Back Plastic*
- 1 Roll of Black Marble Effect Sticky Back Plastic*
- 1 Roll of Gold Sticky Back Plastic*
- 6 10cm Plain Wood Coasters (or here)*
- A sharp craft knife
- A plastic card or scraper
- Scissors
- Pencil
- Ruler or Tape Measure
- A cutting mat (not shown)
Instructions:
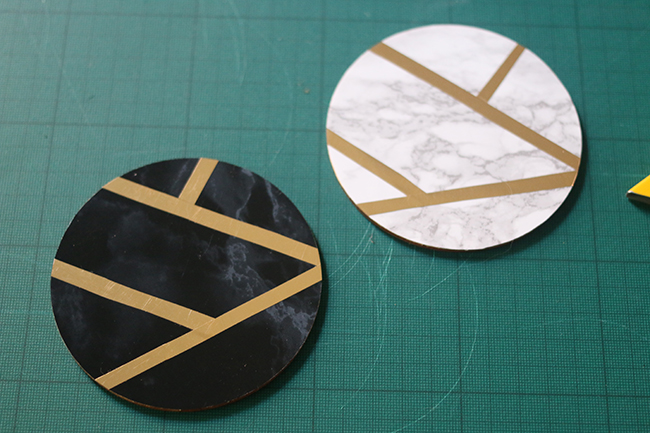
For the single pattern coasters with gold stripes
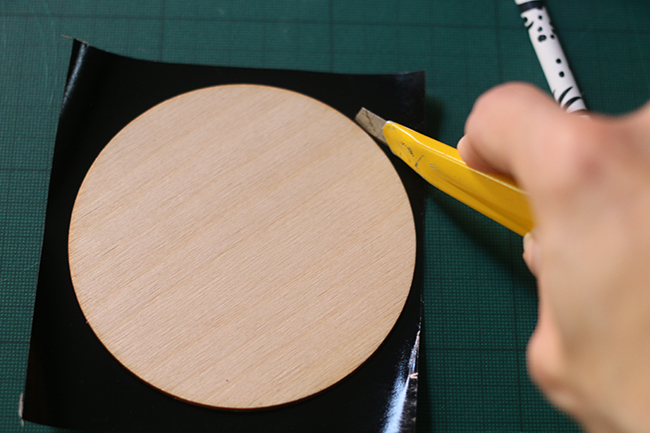
Cut a piece of the black or white marble paper slightly larger than the size of your coaster. Peel off the plastic and adhere it in place, making sure there are no visible bubbles. Using a sharp craft knife, cut away the excess paper.
Cut long narrow strips from the gold paper and lay on top of the paper on the base.

You can then cut smaller sizes to make an abstract pattern. Make sure any strips are long enough to run off the edge of the coaster. For shorter pieces, lift up longer pieces and hide the cut side underneath.

Flip the coaster right side down and using the craft knife, cut along the edge to remove the excess paper.

For the half white, half black marble coasters with a narrow gold band
Using your ruler and pencil, find the middle point of your coaster. Draw a line at this point across the diameter.

Cut a piece of white marble paper slightly larger and longer than half the size of your coaster and butt the straight edge along this line. Repeat the process but with the black paper.

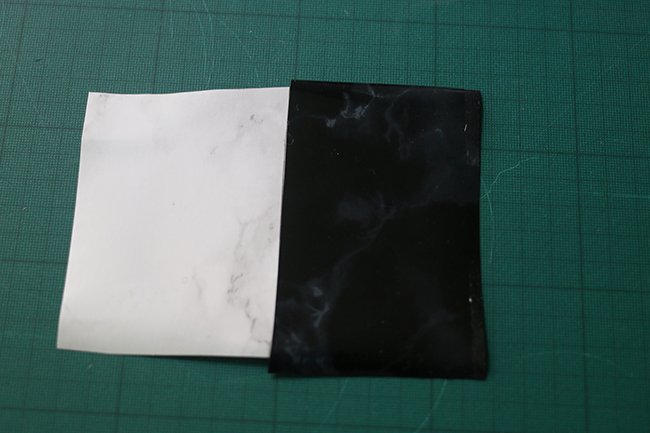
Finally cut a long narrow strip of gold paper and lay along the point where the black and white paper meet.

Flip the coaster right side down and using the craft knife, cut along the edge to remove the excess paper.


For the ‘peace sign’ coaster
Using your ruler and pencil, find the middle point of your coaster. Draw a line at this point across the diameter as before. Cut a piece of white marble paper slightly larger and longer than half the size of your coaster but at the middle mark, cut an angle in the paper.

Repeat this for the other side with the black paper and butt it up to the white paper.
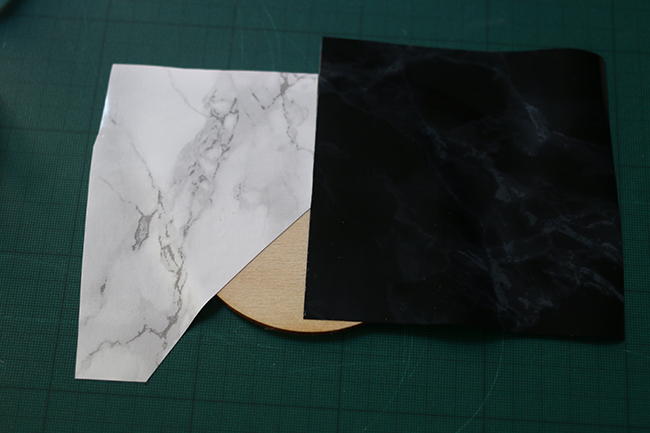
Add a narrow strip of gold paper overlapping the two edges of the black and white paper and just slightly longer than the midpoint.

Finally, cut a piece of gold paper in a square and angle it so that it butts up to the edge of the white paper and overlaps the black paper.
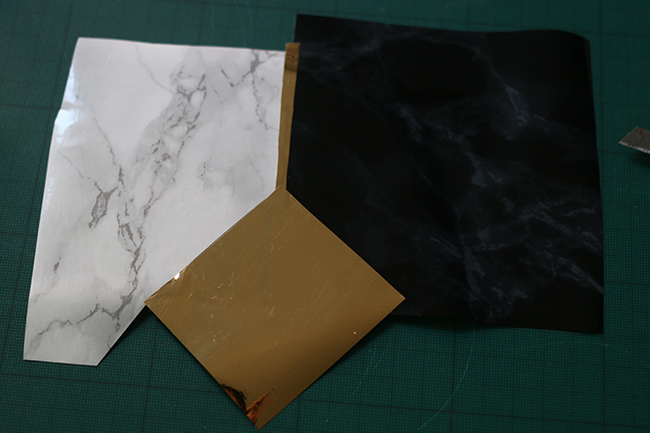
Flip the coasters right side down and using the craft knife, cut away the excess paper.

For the half white, half black marble coasters with a wide gold band
Cut a wide strip of gold paper and place down the centre of the coaster.

Cut one piece of black paper and one piece of white paper, both larger and longer than half the size of the coaster and butt each along each side of the gold strip.


Flip right side down and cut away the excess paper.


And that’s it! I told you it was easy!

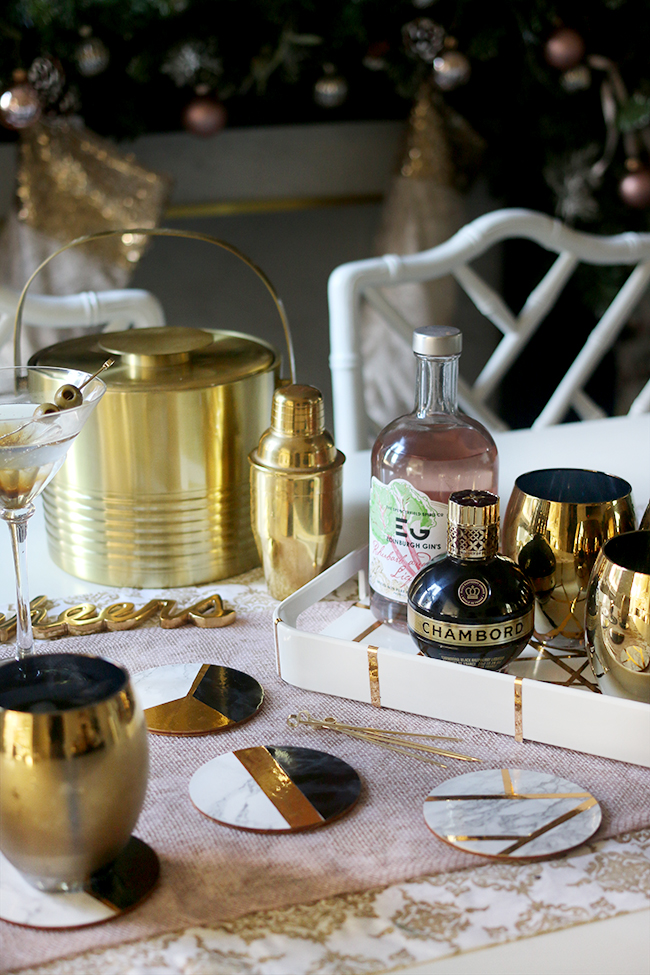
I also love the fact that it matches so well with my Kelly Wearstler inspired tray! You can see the DIY for that one here.

Is this a DIY you would try? Let me know!
Disclaimer: This post is in association with SwiftCover but all words, opinions and images are my own. I only work with companies I really like and think you will too! Thanks for supporting the brands that support Swoon Worthy!
Want to see more of my #SwiftHomeHacks? DIY Soy Wax Candles / DIY Natural Fragrance Diffuser with Essential Oils / DIY Faux Marble Shelf / How to Upcycle Faux Plants / How to Transition a Room from Summer to Winter / How to Create a Glam Table Setting on a Budget



OMG!!! Love it Kimberly, love it!!! So simple, so chic!!! May I make the same for me???
I’d be honoured Christina if you made some yourself! Of course ;) xxx
Wow those look really good, they would also ( if you’ve got time left ) make really nice Christmas presents. xxx
They would actually! Thanks darling! xx
These are absolutely stunning! I’ve wanted to do a project using various colors of the marble contact paper for a while… The addition of the gold puts it over the top! Such an awesome idea, Kimberly!
Aww thanks lovely! You should totally try it (or your own twist, I know how freaking creative you are) ;) xx
This is my kind of DIY! You are so talented!!!!! Wishing you the best in 2017 my friend!!!
Aww yay! Thank you lovely! And you as well :) xxx
They are amazing! I’m definitely ordering some of the marble and gold sticky back plastic – so useful! x
I use it for EVERYTHING! Ha! You should definitely order some, you’d be surprised how many things you can do with it – it’s a bit addictive ;) xxx
Love that flatlay shot of all your tools! Ace DIY as always
Hahaha! Thanks hun! ;) xx
You are so clever Kimberly. They look fab! xx
Aww cheers lovely! xxx
You are a creative genius! These look AMAZING!
Hahaha! Thank you lovely!! xxx
Ooh, I like those! Very creative and on-trend :) x
Thank you lovely! xxx
Very stylish!
Thanks Vicki!! xx
Love it, I would definitely try this myself… with copper :)
Yes!!!! Such a good idea! BOOM: http://amzn.to/2hFJTGl
They look so amazing, would you also do them and sell? I would like to by it :)