*This post is the second of a 3-part series of making your own home made gift set using essential oils! Check out my DIY Christmas Room Spray and my DIY Candle with Essential Oils – all with downloadable labels to make a matching set!*

So, on Friday, I shared with you a really simple tutorial to create your own Christmas room spray with downloadable labels that you can give as gifts – or just keep for yourself (no judgement from me). I suggested also creating some candles to match the room spray and lots of you guys were up for that so I’ve decided to run with the idea!
I’m actually going to share three different tutorials with you – room spray (here), candles (now here!) and today, I’m going to show you how to make your own soap (it’s easy I promise!) – something I realised I’ve never shared on the blog before.
The idea is if you follow all three posts, you can package them up to make a fabulous gift set that doesn’t take loads of time, isn’t that difficult and looks amazing. And yes, I’m providing downloadable labels for all of it so it’s just a matter of spending a (fun) afternoon doing a little making, labelling everything up and hey, presto, Christmas gift giving made easy. And yes, you can EASILY do all 3 of these in one afternoon!
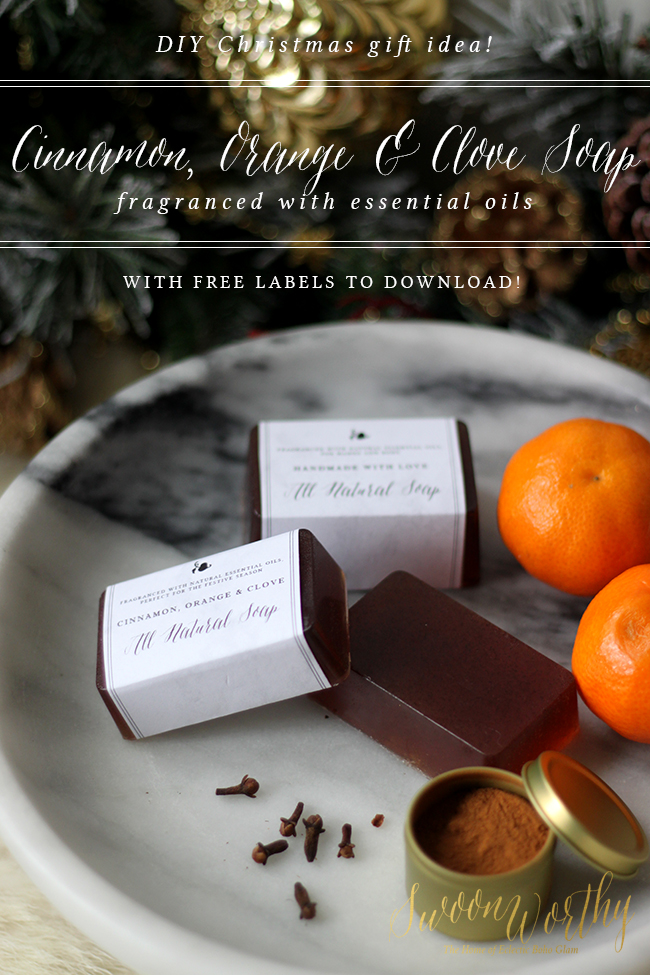
Today, I’m going to share with you the DIY soap. It is not difficult AT ALL to make your own soap and although you will need to purchase a few items, you can make quite a lot of soap for not a huge initial outlay. Obviously, I’ve matched the fragrances across all three products to make them work well together as a set but please know you can use any essential oil combination you wish and you certainly don’t have to make the full set of three products – individually, any of these would make lovely gifts too.
I first ventured into soap making about two years ago when I was working as the Editor of AO at Home (now AO Life). We partnered up with Stephenson’s at the time who make really excellent soap bases for a competition we were running and they gave me a whole bunch of packs to get started (you can see my first attempt here). The great thing about melt and pour soaps is that all the hard work is done for you and there’s very little to have to mess around with so of course, I went back to those packs when I created this. Other brands also make melt and pour soaps of course but this is brand I’m familiar with so happy to recommend it (no, this isn’t sponsored by the way, just my personal recommendation).
It’s also cruelty-free (no bunnies harmed here!) and SLS-free which means it doesn’t contain the harmful chemicals that create foam in commercial soaps – you can still get a good lather from it but it won’t irritate or dry your skin. I have been prone to eczema on my hands and I’ve found this soap doesn’t irritate my skin at all or leave it feeling dry like other commercial soaps do which is another reason I recommend it.
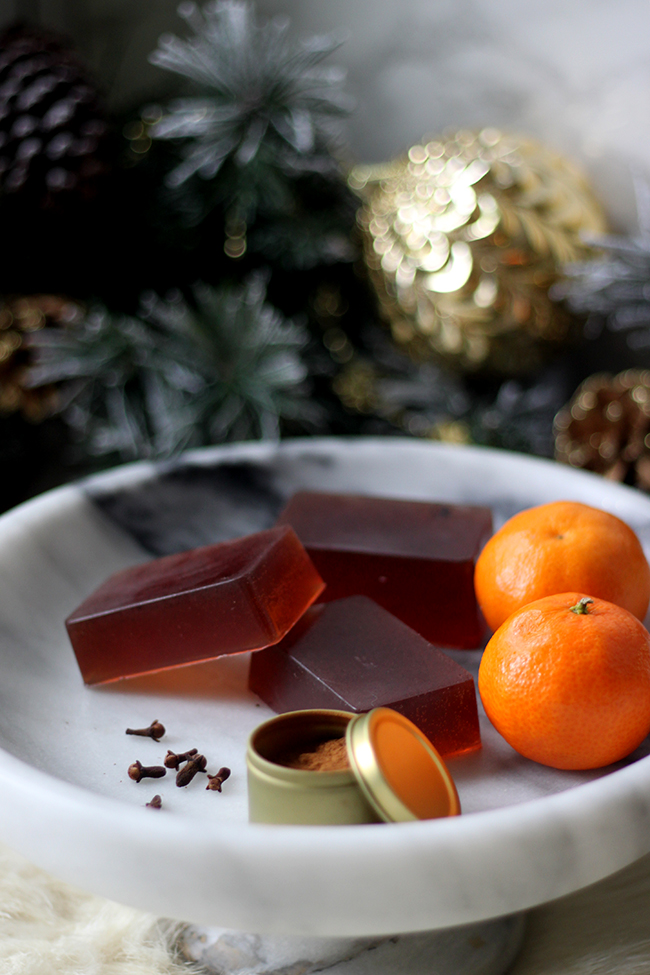
For this soap, I used the crystal base which just means it’s see-thru so it’s great to add little extras to as you can see them suspended in the soaps when you’re finished.
For mine, I used ground cinnamon, both as a fragrance enhancer as well as a natural colourant.
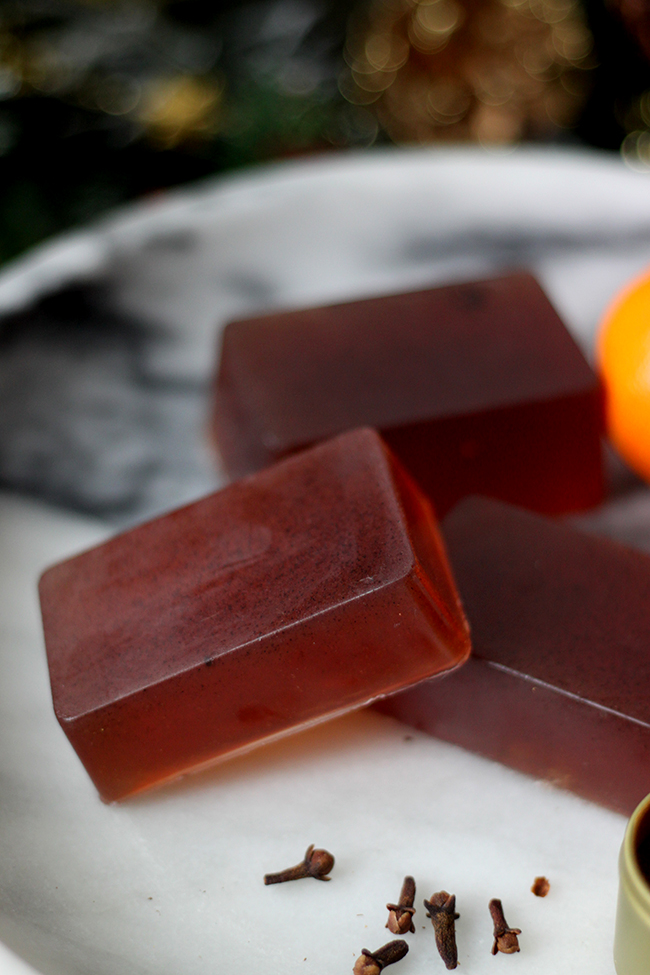
The lovely thing is, the colour ended up nearly identical to the amber glass bottles of the other products so it really created 3 items that worked perfectly together.
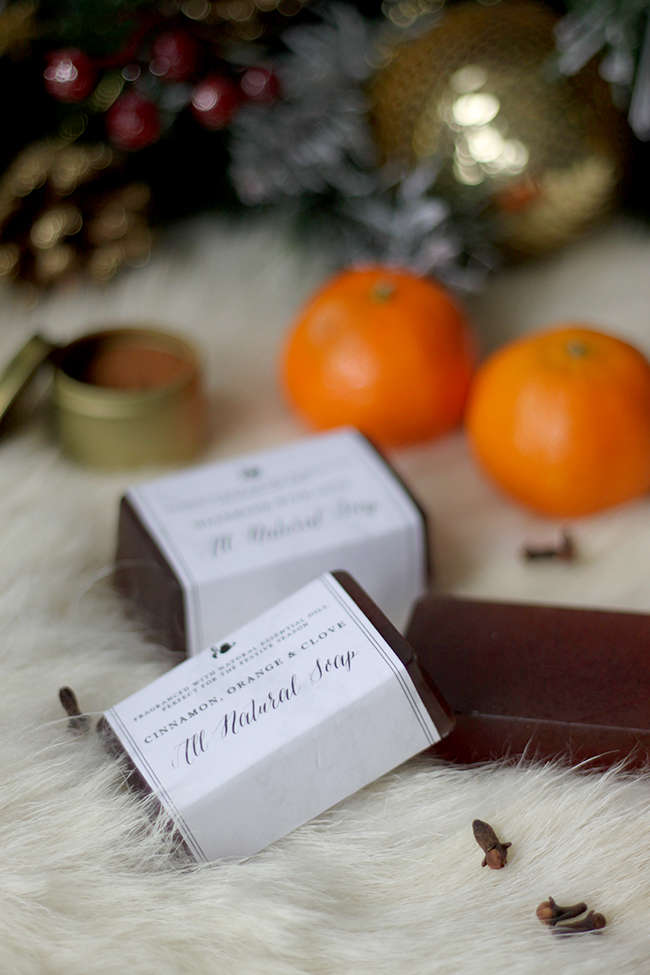
So shall we get started?
Cinnamon, Orange and Clove Soap
Here’s what you’ll need to make 3 soaps (adjust recipe for making more or less)…
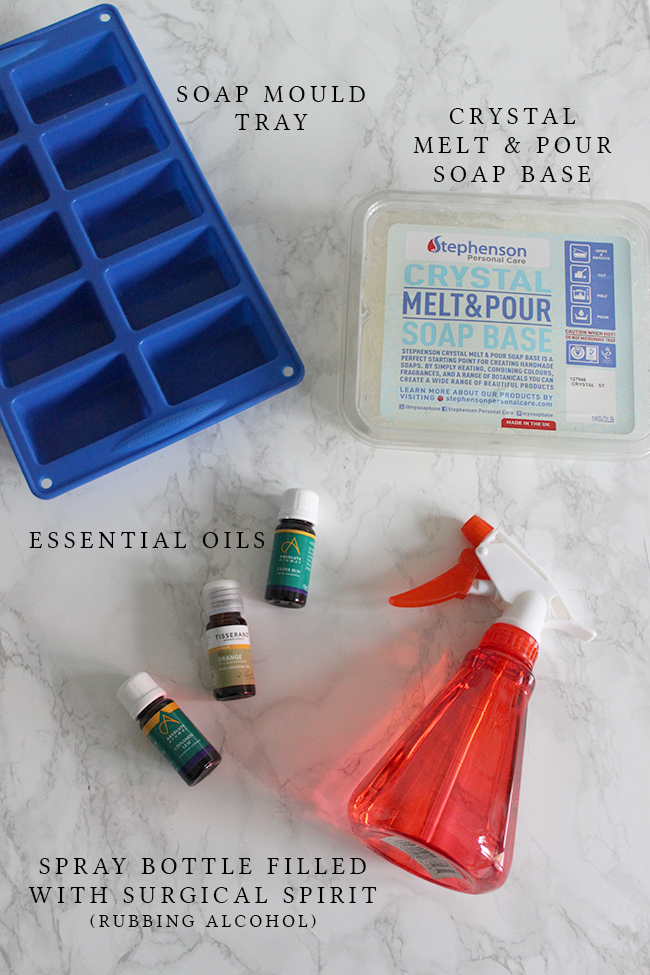
I linked to the ones I’ve used but obviously, you can use any brand you wish. *denotes afilliliate link – you’ll never pay more for clicking on my link but I may receive a small commission for the referral.
3/4 pack of Stephenson’s Melt And Pour Soap Base Clear *
Rectangle Silicone Soap Mould * (this is similar to the one I have)
100 drops Orange Essential Oil 9 ml *
50 drops Cinnamon Essential Oil *
20 drops Clove Bud Essential Oil *
~2-3 teaspoons ground cinnamon
spray bottle
Surgical Spirit * (aka rubbing alcohol)
downloadable labels (opens in a new window)
double sided tape
a baking pan
a pyrex jar
And here’s how it’s done…
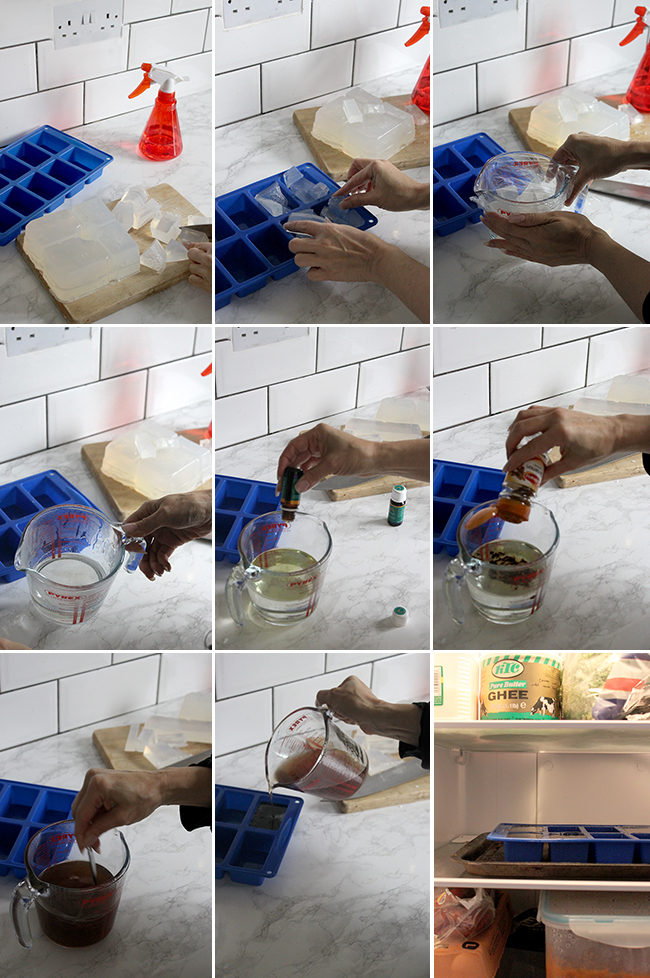
- Cut soap base into cubes small enough to fit into your soap moulds
- Approximate the volume of soap you need based upon filling your moulds to just overflowing
- Put all cubes into a pyrex (or microwave safe bowl with spout) and cover with clingfilm/plasticwrap
- Microwave on high for about 2-3 minutes, stirring every 30 seconds until all soap is fully dissolved (don’t let it boil, you’ll get lots of bubbles!)
- Add your essential oils
- Add ground cinnamon
- Stir well
- You will see that I failed to do this in my images but this is REALLY important! Set your mould on a baking tray FIRST and THEN pour in your soap to fill your moulds. Otherwise you’ll end up with a small mess (voice of experience – whoops).
- I forgot to take a picture of this (another oops) but lightly spray the top of your melted soap with surgical spirit (aka rubbing alcohol) to remove any small bubbles that may form on the top for a more professional final result.
- Set in fridge for 1-2 hours until soap is fully hardened.
- Gently pop out of your moulds.
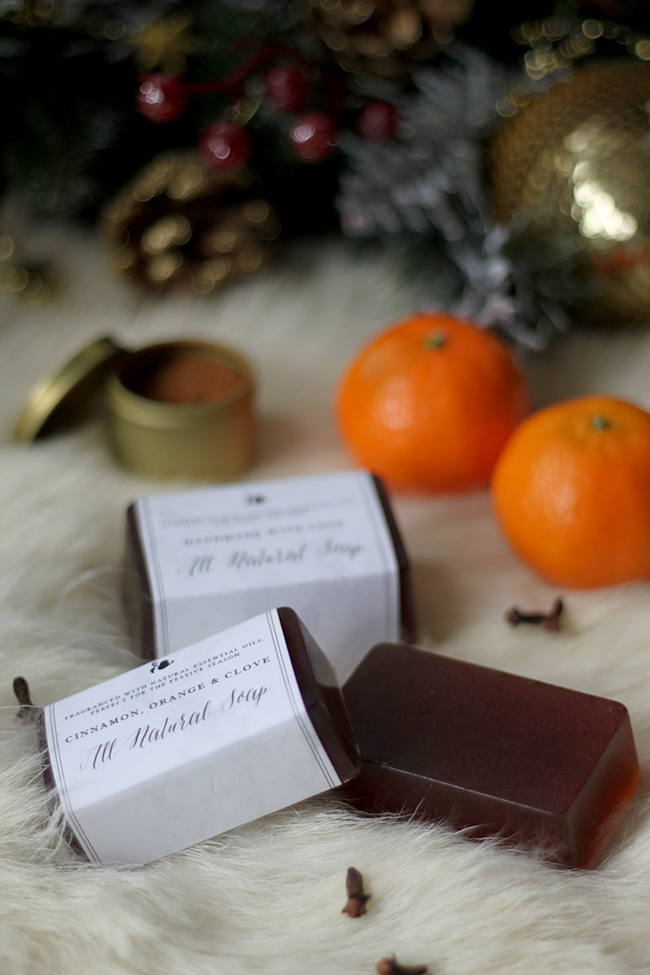
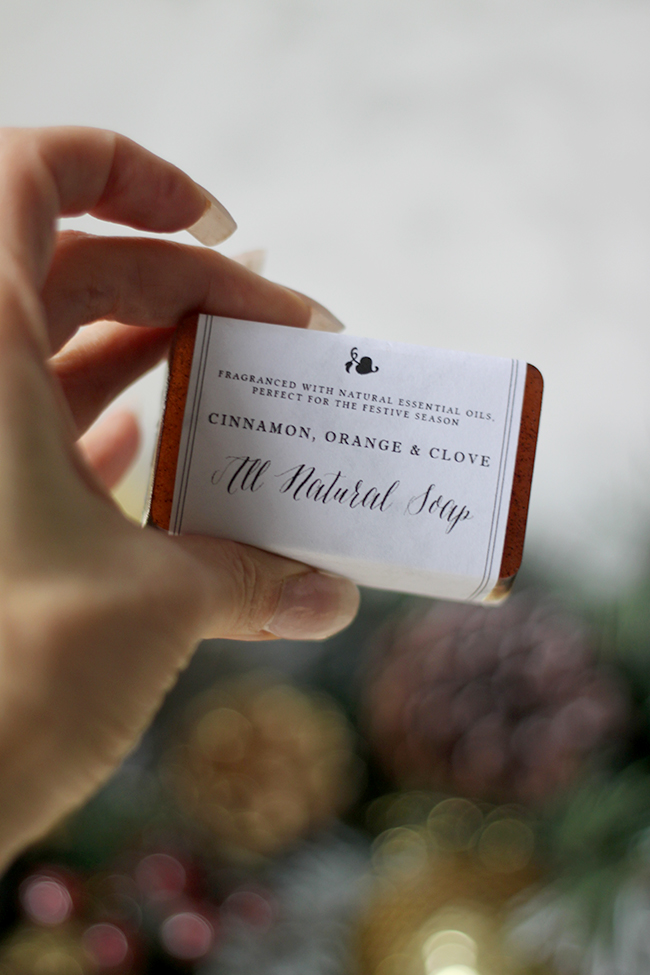
The labelling is easy – simply print out the labels here, choose which one you’d like to use and wrap around your soap, securing with double-sided tape. There are three included – the one I made here, another for Christmas gift giving if you want to make your own scent combination and one that’s just generic which you can use any time of year.
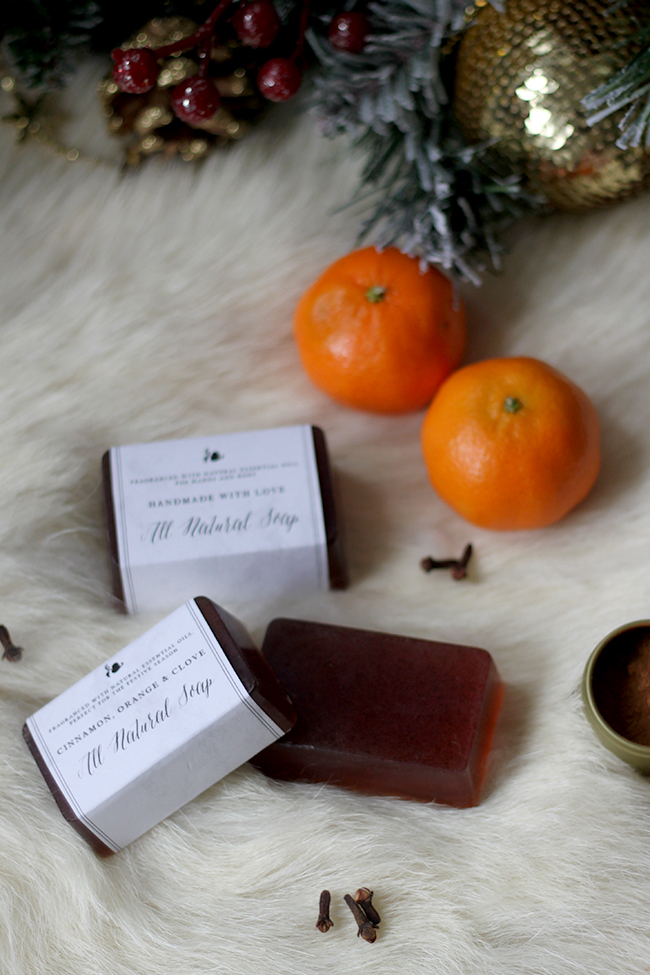
And that’s as simple as that! Stay tuned for Part 3 of this little gift set trio – the candles – coming very soon!
Is this something you might try? Can you believe it’s just a month before Christmas?! ACK!


Is that a new worktop?
Ha! Nope, I wish!! My pictures were coming out really dark so I used a backdrop I use for photos underneath everything to reflect a bit of light, that’s all ;) xx
This is such a lovely idea, I’ll definitely be gifting a few of these sets this Christmas! Thanks so much for the idea, and especially the labels :D
Thanks so much hun, so happy you liked it! xx
I love the wrapping you did on it too. I have always wanted to try my hand at making soap for gifts…you have just inspired me to get crafty over holiday break :) xoxo
Oh you must try it! You can even get the kids involved, it’s just so simple :D xxx
You’ve just motivated me to have a go, and I used your links to get the supplies. Nice idea. Thanks for sharing.
Yay! Thanks so much Sueli, you must let me know how you get on ;) xx
Great post kimberley,soap is something ive never thought about making, but im going to have a go (nice work top) xxx
It’s so easy to do and the results are just so brilliant, you must try it! And alas, no new worktops here! My pictures were just coming out so dark with the dark worktops so I used a backdrop that I often use underneath everything to reflect a bit of light around ;) Trust me, if I got new marble worktops, I’d be shouting about it here first! Ha! xx
I’m definitely going to make these for Christmas gifts this year! May I ask what the dimensions of the soap bar are so I have an idea of how big of a mold I should get to make them to match the labels please? Thanks so much for posting!
I just had a look Nicole! The inside measurement of the mould for each soap is 7cm wide x 4.5cm long x 3cm deep! I hope that helps and best of luck – it’s so ridiculously easy and can be quite addictive too ;) xx