You all know my obsession with marble-effect contact paper or sticky back plastic as it’s known here in the UK. I have used it throughout my home for various projects – you can see my marble topped chest of drawers, the floating vanity we created for the dressing room and my upcycled glam bread bin, all used with this amazing inexpensive product.
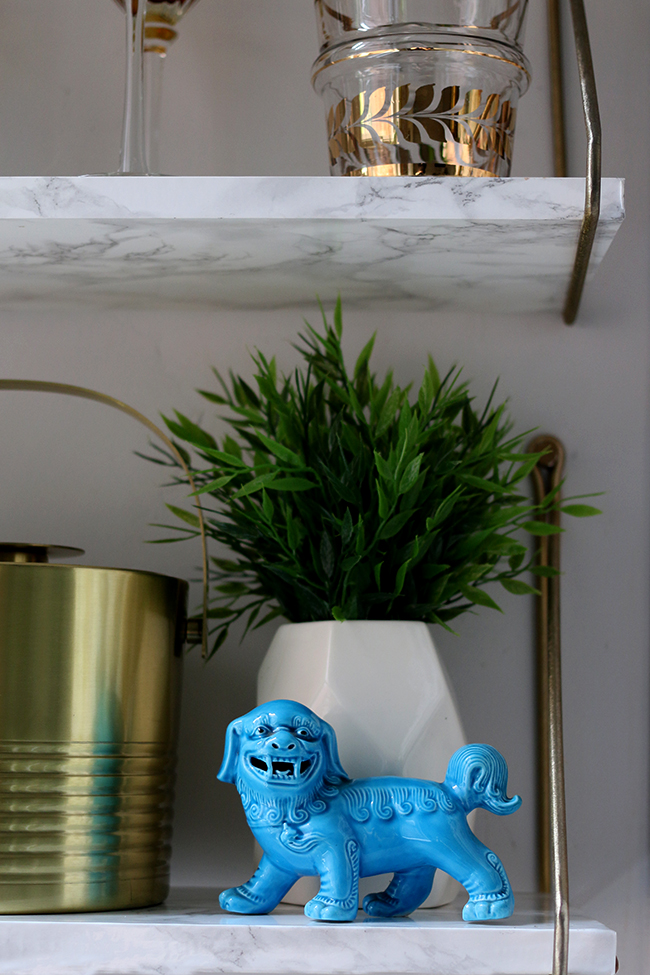
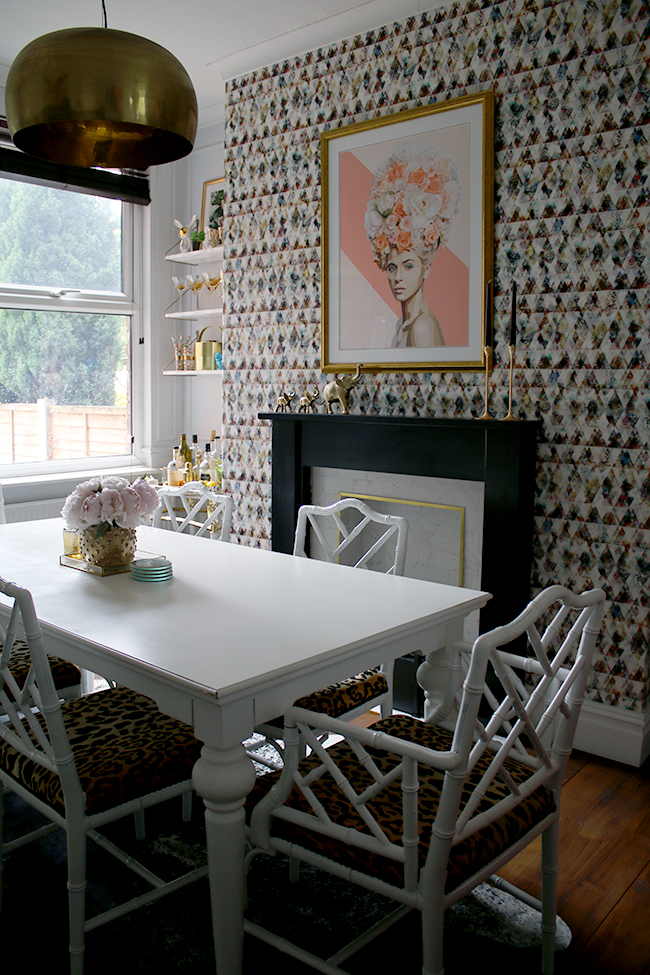
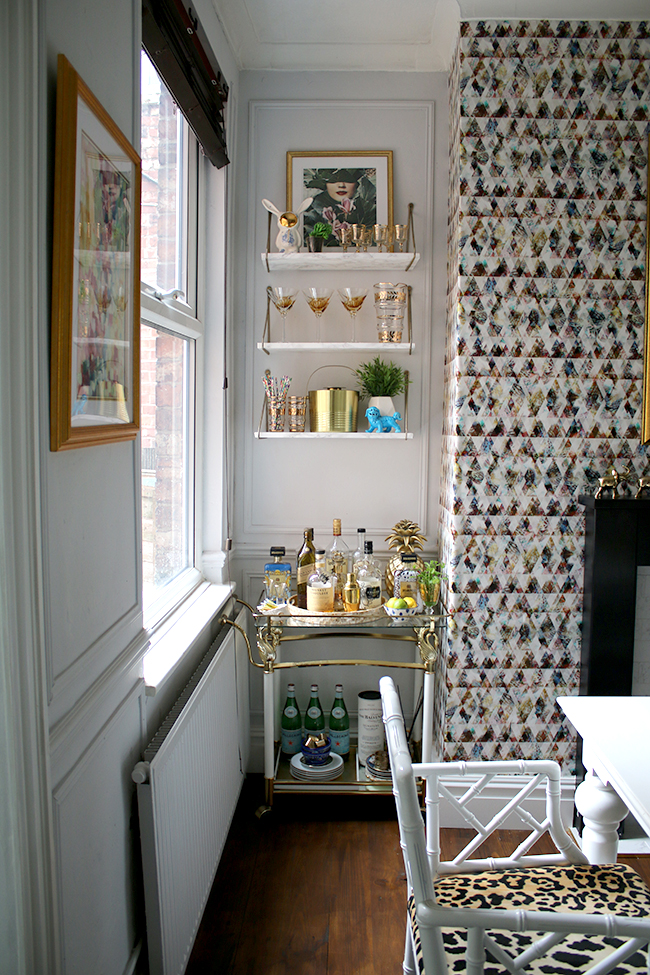
I’ve used it lots as you can see and I can’t really get enough of it given how gorgeous these projects look when they are done. My faux marble shelves above the bar cart seemed to be a favourite when I shared my dining room reveal and I’m so happy with how they came out. Best of all? It was CHEAP AND EASY. The best kinds of DIYs as we all know.

The sticky back plastic is a fairly easy product to work with but it can be frustrating at times because bubbles will form when you are applying it and that can cause your project to look less than perfect. However, I’ve learned a few tricks in using it which I’m sharing with you today, bearing in mind this will work on any flat surface to give you a fab finish.

I am really excited to team up again with SwiftCover for their #SwiftHomeHacks campaign to show you exactly how I made these cute little shelves!


Here’s the video showing exactly how it’s done…
A few other details…
Items used:
- Pine shelving from B&Q (in store) and I cut mine down to 55cm x 20cm
- Marble effect contact paper from Amazon* (affiliate link)
- Brass brackets from House Doctor (only £12.50 for a pair!)
Similar marble shelves go for around £65 each but I made all three for less than £20 each! Bargain!

I hope you enjoyed the video and a huge thanks to Swiftcover for teaming up with me again!
Check out all the #SwiftHomeHacks videos here.
Have you used marble contact paper for your projects yet? And if so, what have you used it for? Go on, share, I’d love some more ideas…
Disclaimer: I’m collaborating with Swiftcover on their #SwiftHomeHacks campaign to bring you these fabulous DIY videos. As always, I only work with companies I really like and think you will too! Thanks for supporting the businesses that support Swoon Worthy!


Love this stuff! After seeing your chest of drawers a couple of years ago, I used it cover an ikea fold down table for our tiny kitchen, it looks fab and has held up really well. Thanks for the inspiration and I love little how to videos like this, so the best way to feel confident to have a go. Absolutely adore what you’ve done with this room!
If you use a hairdryer to warm the contact paper it is even easier to put on :-)
You might also want to mention the brand name Fablon as that has become synonymous with contact paper in the UK and most Brits will know what you mean. Used to be extremely popular here.
Thanks for this idea and the link to the brackets – I’ll definitely be doing this in my front room soon! x
Kimberly…Your shelves look beautiful! Great job on the video!
Nice one Kimberly, as I’ve said before this brings back some really good memories, using sticky back plastic, you make it look so easy, and it still a great idea Thank you xxx
Drool! This is so good! Such a gorgeous little corner and I love the shelfs.
Your faux marble shelves look like the real deal! So good. Yay for sticky back plastic :-)
Love love Kim!! I’ve been wanting shelves in my dining room but haven’t found the right look. Truly crushing on yours!
Kimberly, this is genius! I absolutely love it. And now I want to cover everything in contact paper :) x
Hi Kimberly, just revisiting this post for the 5th time (!!) and I was wondering if you mind me linking to it from a post on my blog? I want to give credit to the woman who brought marble sticky-back plastic into my life! Rx
Aww that would be so nice of you Rosanna! Of course, I’d be honoured! And please do share the link to your post with me so I can see your creation ;) xxx
Hi, just found this and love it! Going to give it a go this weekend. Just wondering, what did you use to attach your brackets to the wall? Mine didn’t come with any fittings so not sure where to start!
Mine came with really big screws so used a drill & a rawl plug in the wall that corresponded with the size of the screw. It really depends on what you are drilling into though so just make sure you get the correct one for your wall type! A DIY store should have everything you need (and they’ll be able to advise should you have questions) Hope that helps! xx