Eeeek! Oh my god, I am so excited. As you know, I’ve been looking at replacing my kitchen lighting for probably – I don’t even know – two years? More? It’s been a while. The problem was that I kept seeing these gorgeous brass lights that were just completely out of budget seeing as I would need three of them – or they just weren’t available in the UK at all and would have cost me an arm and a leg to import them (Hello, Hicks Pendants of my dreams, yes, I’m talking to you). So I kept looking and I kept searching for something I loved and I kept coming up blank because nothing was quite right.
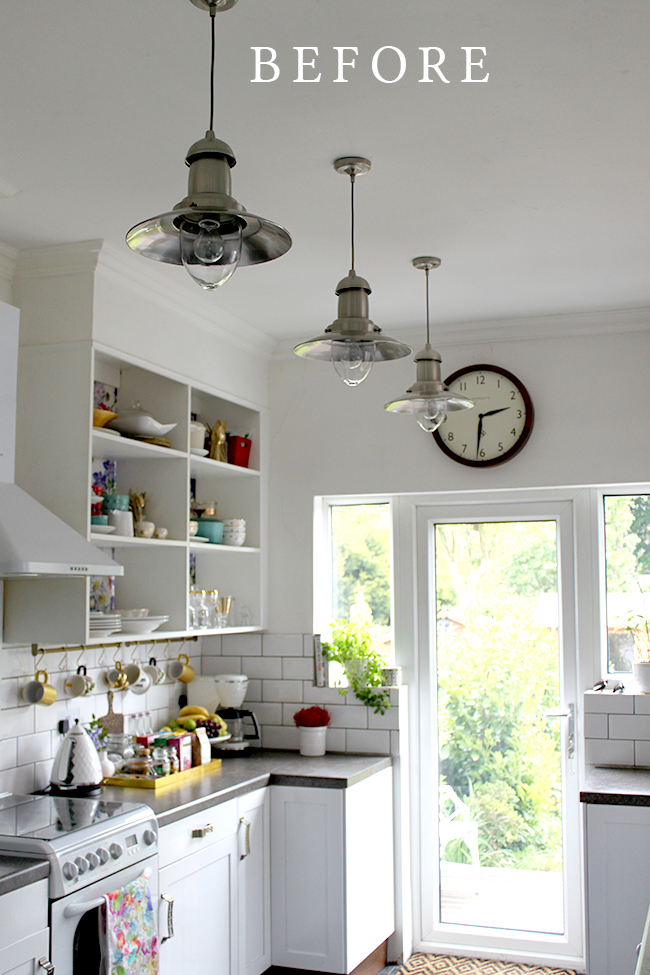
What was wrong with the old lights? Well, in and of themselves? Nothing. But I was adding so much gold and brass into the space and when both our fridge and our cooker died, I swapped the stainless steel appliances to white. And then we replaced the stainless steel backsplash and cooker hood with white ones… so all of a sudden, those stainless steel industrial style lights just started to look out of place. I wanted something visually lighter and I didn’t want pendants that would just create 3 pools of light on the ground – I needed something that would cast the light around the whole space. I also felt visually the lights looked quite heavy in the space and I wanted something that would match the light bright aesthetic I was going for in here.

I had found these amazing pendants from Very (VERY!! Can you believe it?!) back in September when I was putting a moodboard together for a glam room with a budget of £1000. I loved the shape and style but they were non-electrical pendant lamps and I wanted something that plugged into the mains. So I had dismissed them. Silly me.

That was until I worked with Dowsing & Reynolds on my office remodel. Now they don’t just do gorgeous vintage light bulbs. Oh no. They sell all manner of cool lighting as well as individual parts for creating your own lights (plus lots of very cool homewares too). And that’s when the light bulb moment happened (oh yes, pun totally intended). Why not use parts from Dowsing and Reynolds in combination with the pendant from Very to create 3 beautiful gold DIY lights? I contacted Dowsing and Reynolds on the off chance that they might want to work with me again on this project and happily, they agreed! Whoop!
They are also offering an exclusive Swoon Worthy reader discount! Win win!
Save 10% on orders over £25 at Dowsing & Reynolds
Use the code swoon_me_now until 1st June
![]()
Obviously the glass pendant comes as is from Very so that’s easy. They are under £50 each which is just a crazy good price for something so lovely and that geometric design is so on trend right now.
*They actually remind me a bit of Tobe’s ORC where she used a really gorgeous geometric brass light above her dining table – and if you haven’t checked out her ORC, you really must – after you’ve read my post of course… (ahem) so go and click that link and it’ll open in a new window so you can come back to it!
On Dowsing & Reynold’s site, you need to choose a few things to create your light: your ceiling rose, your fabric cable, your bulb holder and of course, your light bulb. I’ve linked to the ones I’ve chosen but they have all manner of different styles and finishes so have a look if you’re interested in creating your own.
The other bits (like the ceramic electrical parts, the screws and rawplugs) are sent to you by Dowsing & Reynolds automatically when you order your pieces so you don’t even need to worry about ordering anything else.

Of course, I wanted to marry my pendants with some ornate ceiling roses so I ordered those separately. They are quite inexpensive, made of polystyrene and need to be painted (which I haven’t gotten to yet – the whole kitchen needs painting desperately! Another job, another day).
Here’s a reminder of the before…
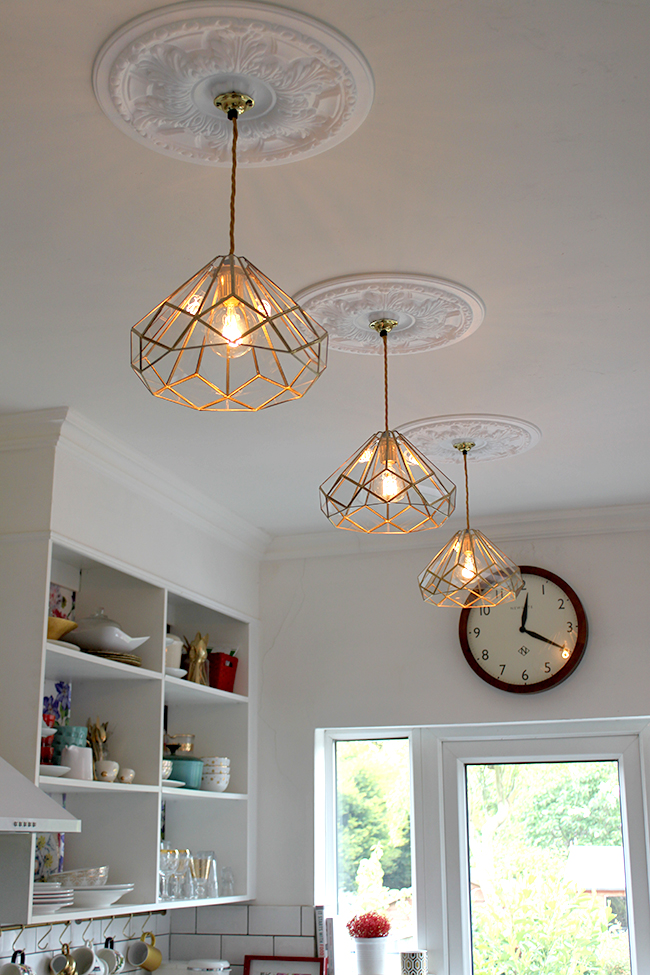
And here’s what they look like now…

Want to see how it was done? I promise, it’s pretty easy but if you are not used to working with electrical parts (I left that bit to Wayne who is pretty experienced by now), then please contact a qualified electrician. And before you do ANY electrical work, please please make sure you shut the electricity off at the mains. Safety first, guys!
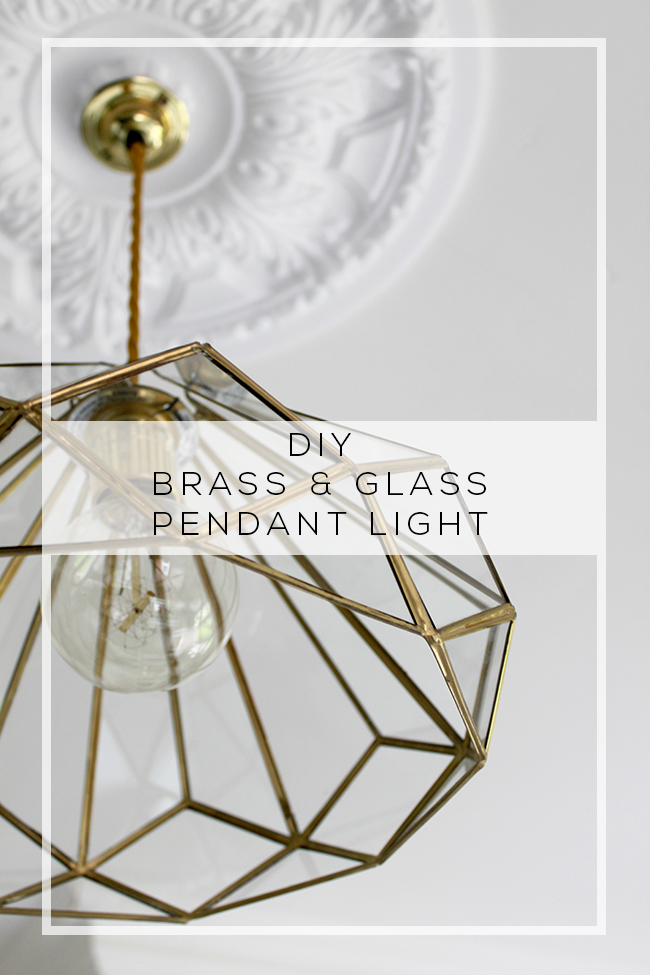
Here’s how it was done… (or you can pin this picture for reference later!)
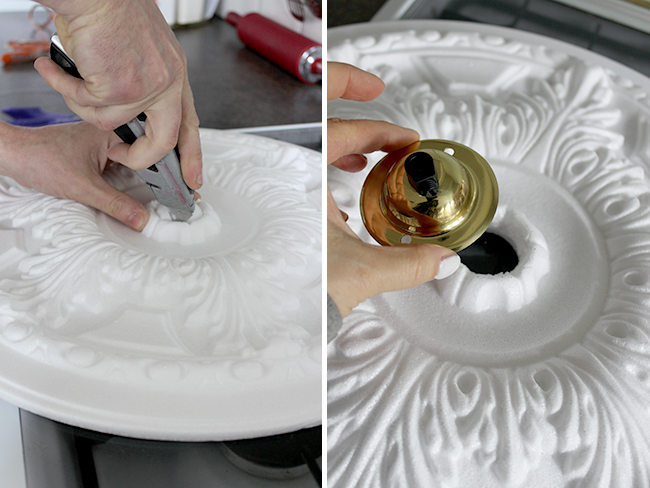
1. If you are using an large ceiling rose to set off your lights like I did, then you want to first measure and cut a hole into the middle of it – this hole will later be covered by the small ceiling rose so you want to ensure the diameter of your hole is slightly smaller than the smaller metal ceiling rose. As these are just light polystyrene, we used a stanley knife to do this.
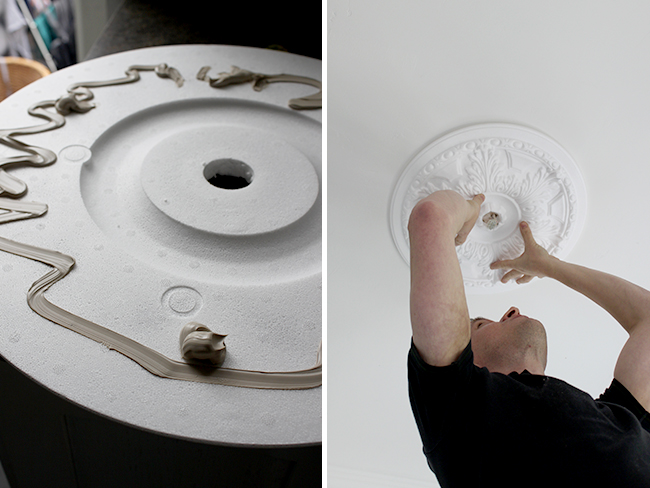
2. Attach the ceiling rose to your ceiling using a suitable adhesive, pulling the electrical point through the middle.
3. Cut your cable to the desired length. I knew I wanted them to be around the same height as my previous pendants so we just measured against them and cut 3 equal lengths for our 3 pendants.
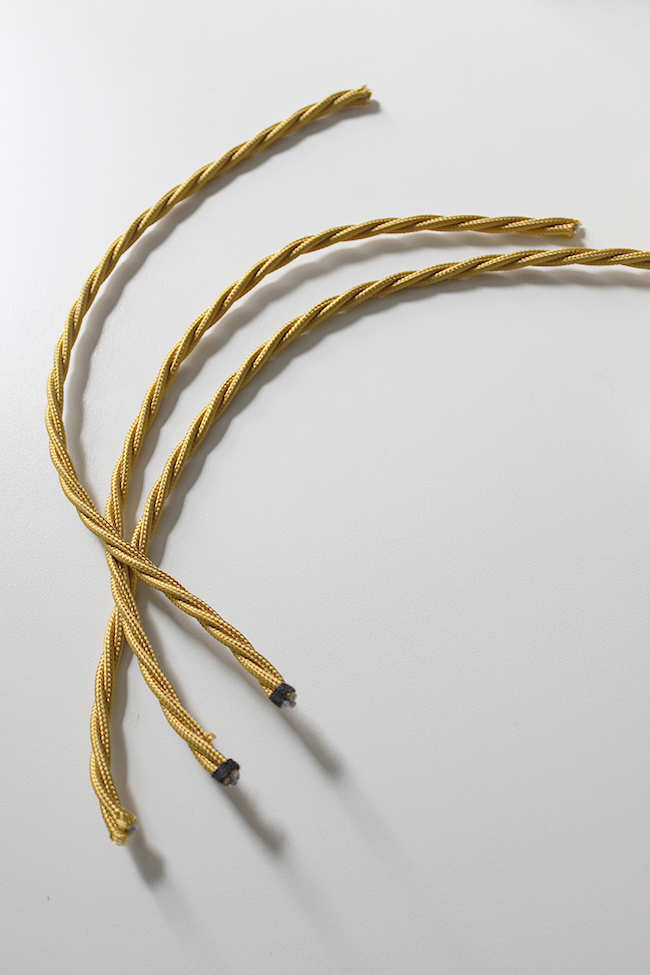
4. Using a small Stanley knife, remove the braid and the plastic covering around 1/2″ from the top to expose your copper wires on one side of the cable and twist to create 3 separate strands.

5. Loosen the screws on the ceramic piece and wrap each strand around the connection point and screw back into place to tighten.
6. Unscrew your bulb holder and thread the top through so that it’s above the ceramic piece and fit the bottom of the bulb holder so that your ceramic piece sits flush inside. Screw shut.
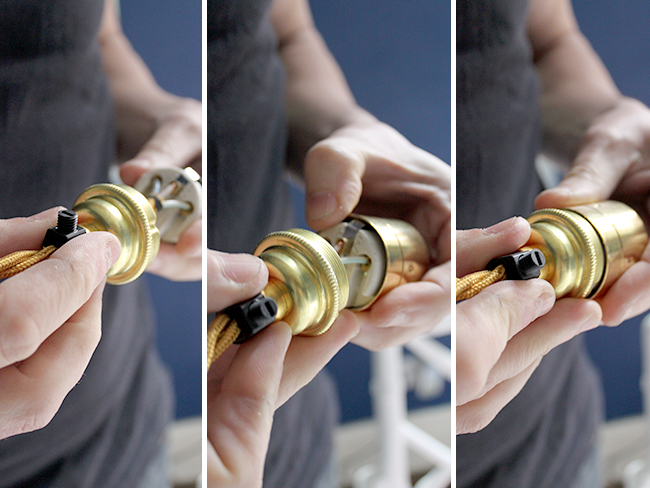
7. Thread the bulb holder through your pendant with the bulb holder on the underside of the pendant and then thread the top of the cable through the ceiling rose.
8. Expose the wires and twist as before. Your finished pendant should look something like this:
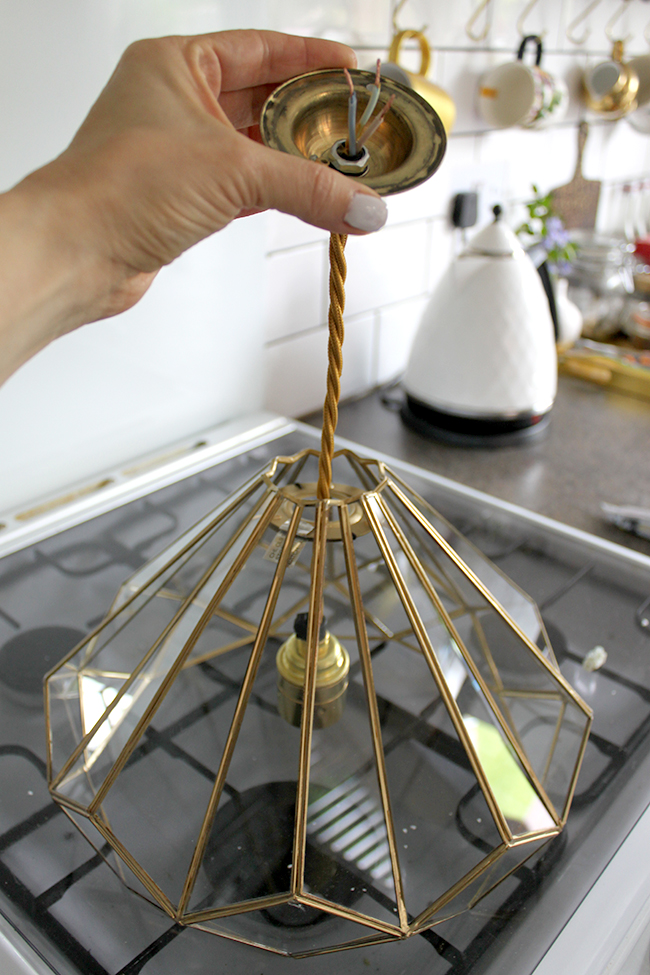
9. Attach it to the mains at the electrical ceiling point.
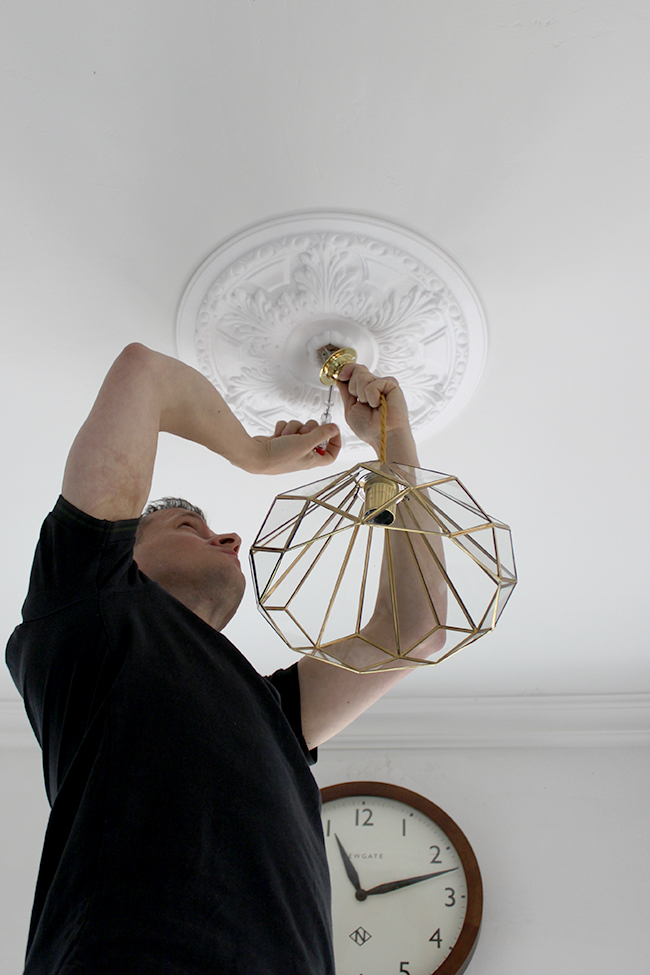
10. Screw in your light bulb.
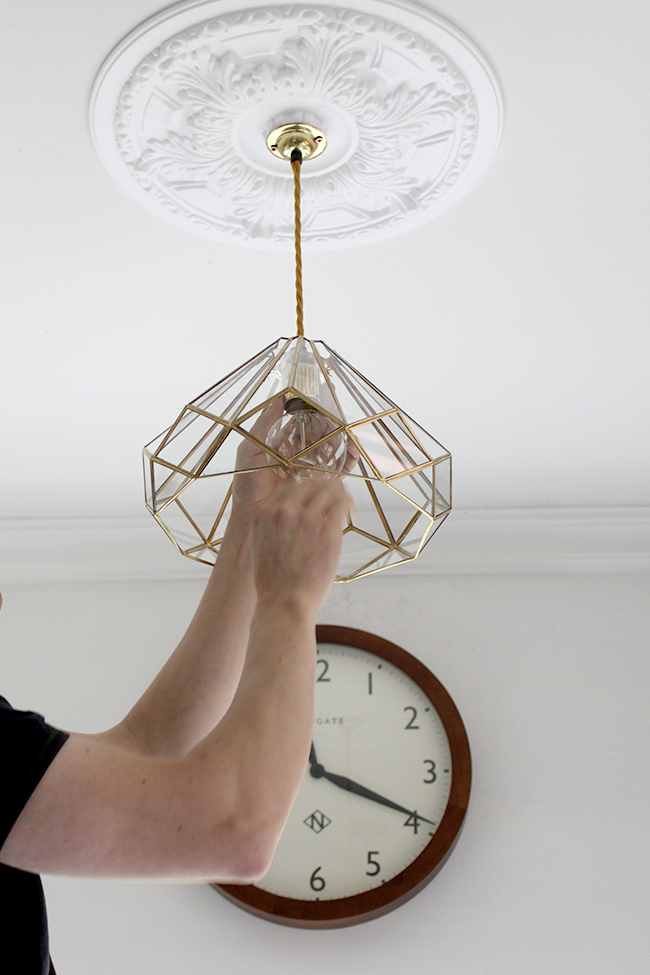
11. Turn your electrics back on at the mains and enjoy your new light!

I said in my post about the office lighting that I wanted to put those beautiful Dowsing & Reynold’s light bulbs in every room of my home. I wasn’t kidding. These things are just so beautiful when they are on.
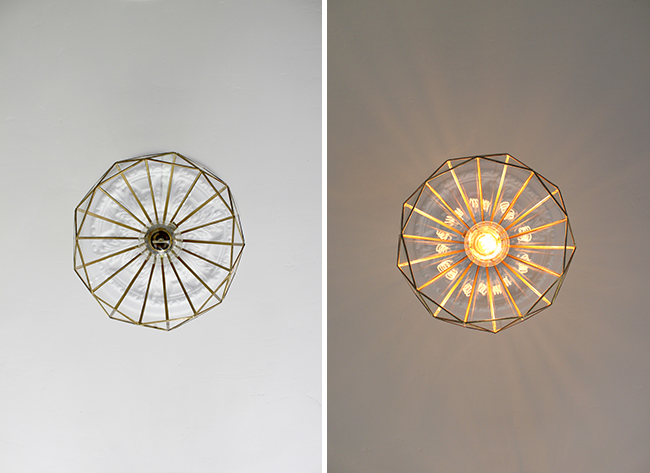
Here’s what they look like from below when they are off and on. Notice how the glass reflects that vintage filament across all the prisms? I love stuff like that! It’s the details, baby, THE DETAILS.
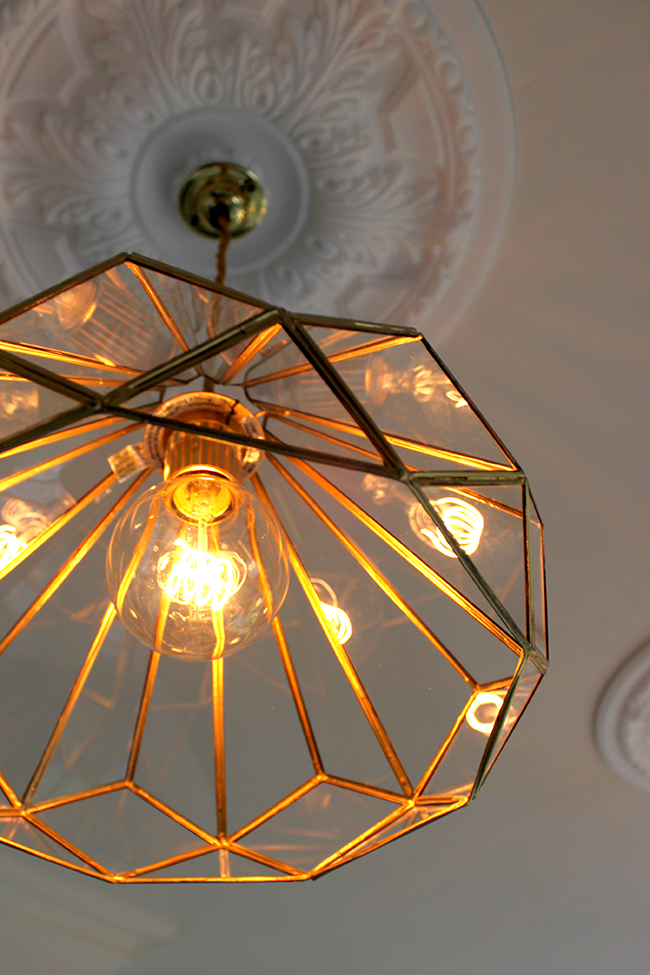
The total cost of each light was only around £82 complete so it’s a fantastic option for someone who wants something really beautiful without having to spend hundreds and it really looks so much more expensive.

I love having three of these in my kitchen and it works so well with the rest of the space now – despite the fact that I still want to replace the counter tops in here and add tile trim and a bunch of other small jobs still needing to get done. But it’s one thing ticked off the list which wasn’t terribly expensive to execute.
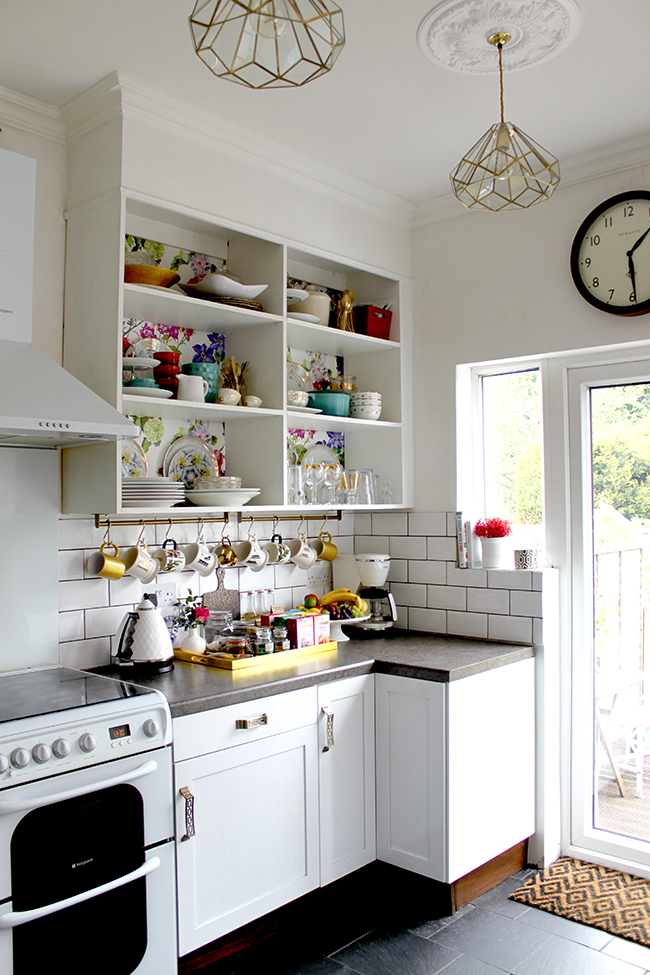

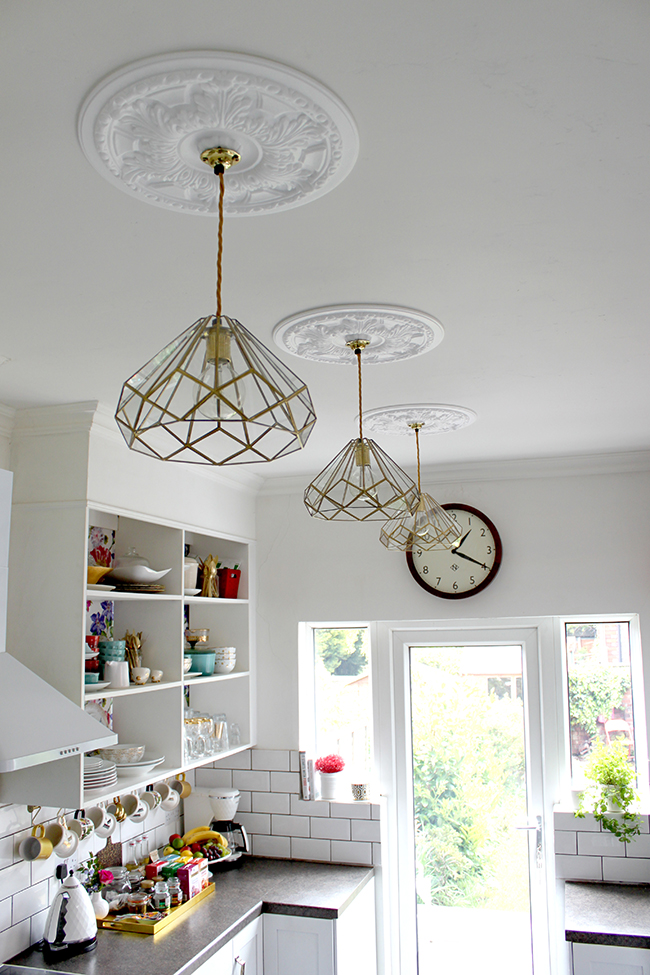
So what do you think of my DIY solution? Is this something you would try? I’d love to hear from you!
Disclaimer: I received the ceiling roses, cable, bulb holders and light bulbs free from Dowsing & Reynolds to create my pendant lights but of course, all words, opinions and images are as always, my very own. I only work with companies I really like and think you’ll like too! Thanks for supporting the businesses that support Swoon Worthy.


Wow, swapping out the new pendants alone made such a difference. I’ve never seen anything like them, too, which is awesome. Much improved, and much more swoon worthy!
Thank you Hollie! It really has made such a difference to the ‘airy-ness’ of the space :D xxx
The lights look great. I have a set of 3 lights in my kitchen as well and i love the style. I have something similar to those that you have bought in my daughter’s room, and they do give plenty of light out. Xxx
Oh nice!! I hated that the original pendants only lit up the bottom half of the kitchen and you had a big shadow going across the entire top! These give off a really lovely glow :) xxx
WOW, those are beautiful! Great work Kimberly.
Thanks so much Jessica! :D xxx
These are gorgeous, girl! Fantastic job!
Aww thank you Lindsay! I’m so happy with how they came out :) xxx
Oh wow, these look totally amazing. Perfect choice.
Thanks so much Marty! I’m really pleased with them! :) xxx
Gorgeous! And don’t look the least bit like a DIY, more like something you’d pay hundreds for. Well done!
Huge compliment! Thanks so much, Justine! :D xxx
Love those lights! They are absolutely perfect for the space. Now I think you need to replace the clock with a horizontal picture. The roundness of the clock just throws my eye off. (And you know it’s all about me! Lol)
Hahaha!! Thanks for the suggestion – the art in here needs to change but I’ll bear that in mind anyway ;) xxx
LOVE these new pendants, the prisms they throw off are fantastic! Great DIY project!
Thanks Jessica! They are so pretty at night, wish I could take better pictures but it’s such a cool effect – love those light bulbs :) xxx
Do love your new brass pendant lights, especially how they look at night! They definitely pick up the accents of brass and gold in your kitchen….lovely – what would we do without our handy men hey!
Wow! I’m impressed and speechless. That chandelier definitely does not look like a DIY project. Girl, you’re too talented! Just stahp. Please!! Xo
Unbelievable how much these gorgeous pendants change the look of your kitchen. So so pretty!
We might be biased…but we love them here too ;-) x
Oh those are pretty darhhhhling! I love them :) xo
Genius! These are absolutely incredible! So, sooo lovely!
These look fabulous! Very glam, very you, very impressive! Just don’t lick them!!!!!!
xx
Love this idea. Not very crafty but it seems easy enough to follow. Thank you so much for sharing!!! Cant wait to give this a try.
I hadn’t heard of this company before but really like the idea of creating your own custom lights – I’ve just ordered a ‘forgotten silver’ rose and bulb holder with a black and white striped cable for our spare bedroom. Thanks for the heads up! :-)
Oh that’s brilliant! Yes, Dowsing & Reynolds are great! I’m sure you’ll be thrilled with your new light :) xx