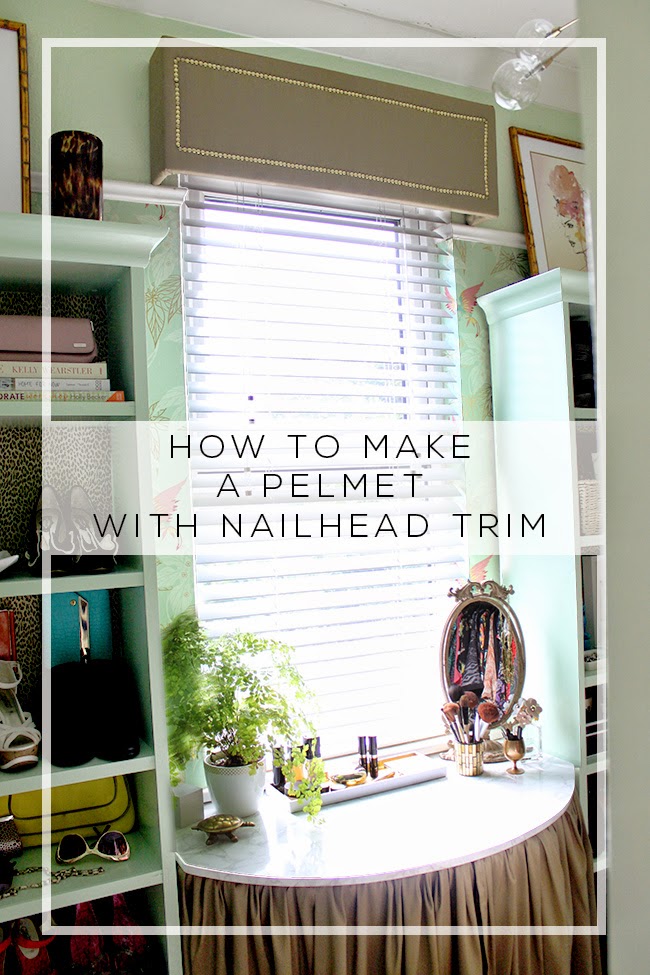
As promised, I thought I’d show you how I made the pelmet for above the vanity table in my dressing room. It is SO EASY honestly. I’ve never made one before and I’d seen a few tutorials online for very simple foam core ones but I wanted this to be a little more ‘permanent’.
Since I showed you the dressing room, I did make one change to the pelmet…
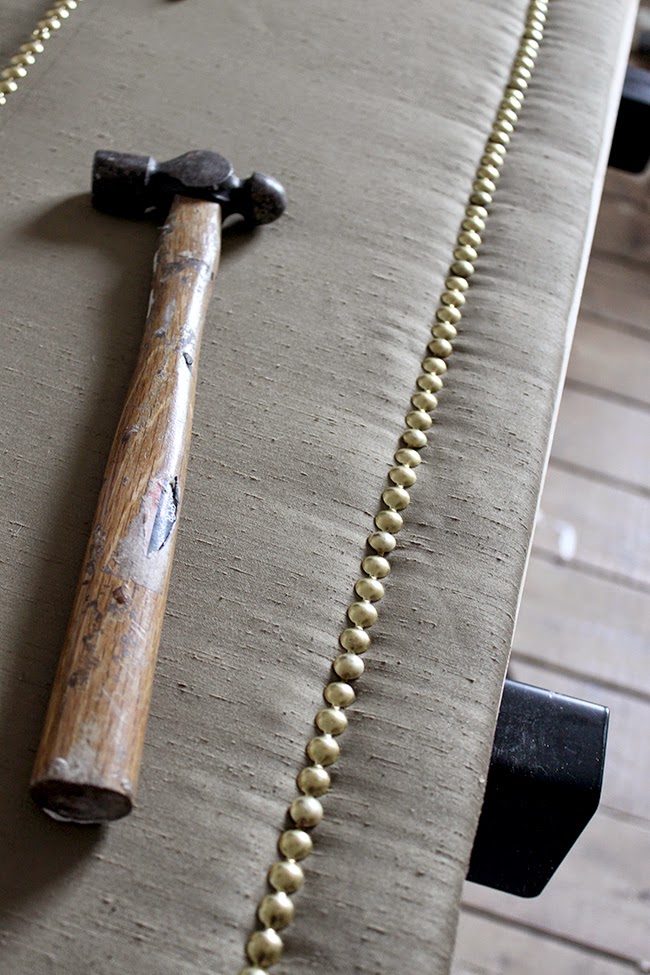
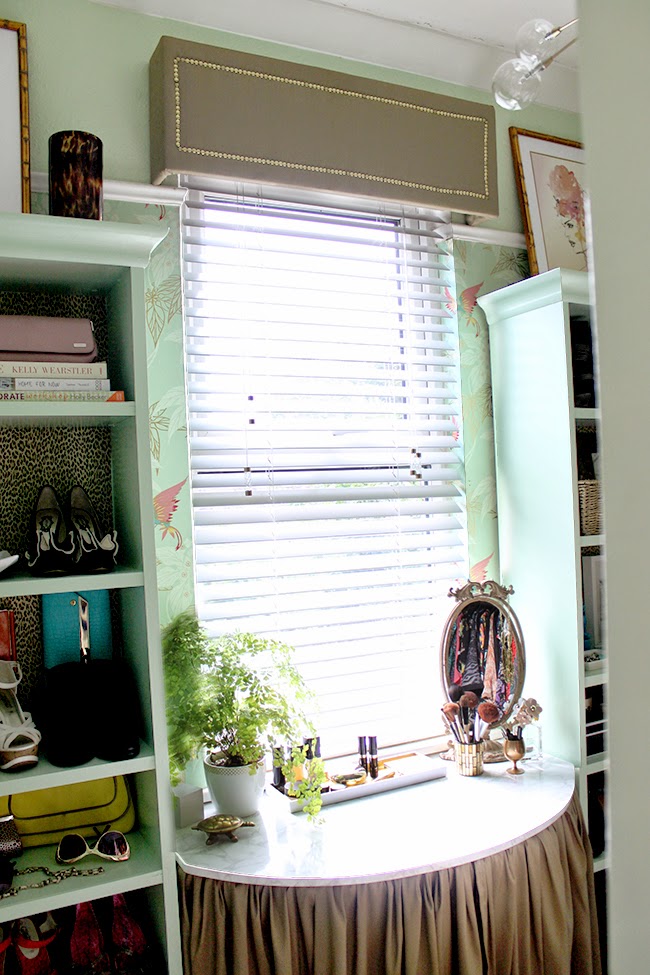
Yes, I decided it needed a little zhushing up and so I added some simple brass nailhead trim (I ordered it from Amazon). It just gives it a little more glam I think!
Anyway, if you are interested in making your own read on…
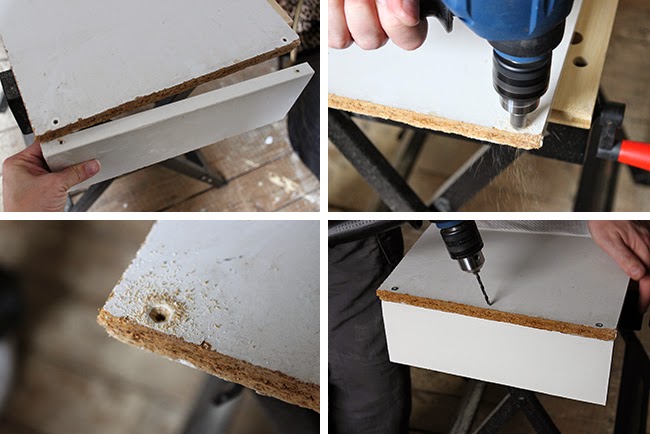
So we started off first by using the same old doors we’d pulled out of the guest bedroom that I made the chest of drawers faux marble top as well as the vanity top from. They’ve come in handy those things!
I started off with this little amazing drawing – you guys are just getting spoiled with my skills in the drawing department, aren’t you?
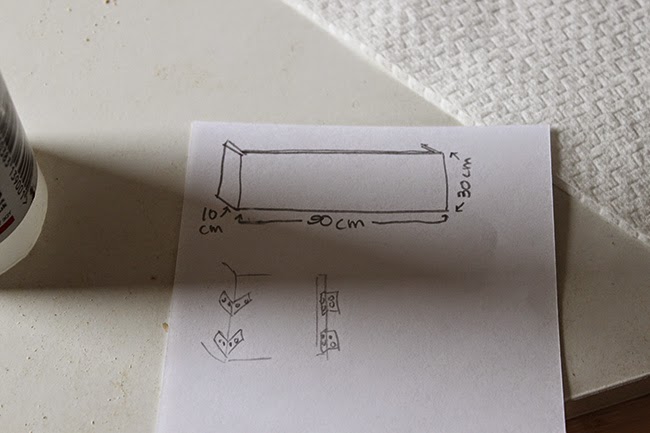
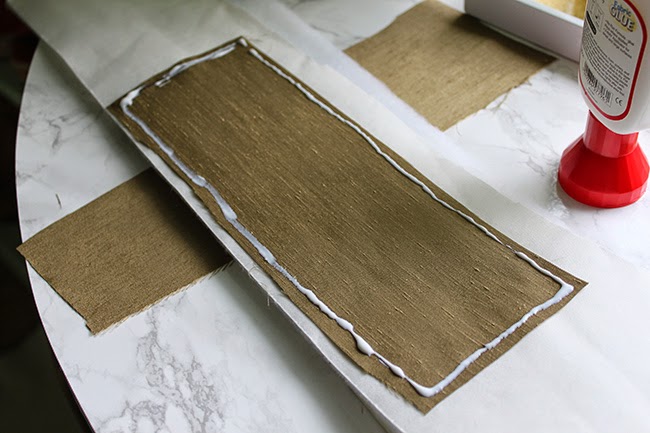
Anyway, we cut three pieces to size and then Wayne drilled pilot holes for the screws. We included wood glue between each piece just to hold everything in place securely and then countersunk the screws.
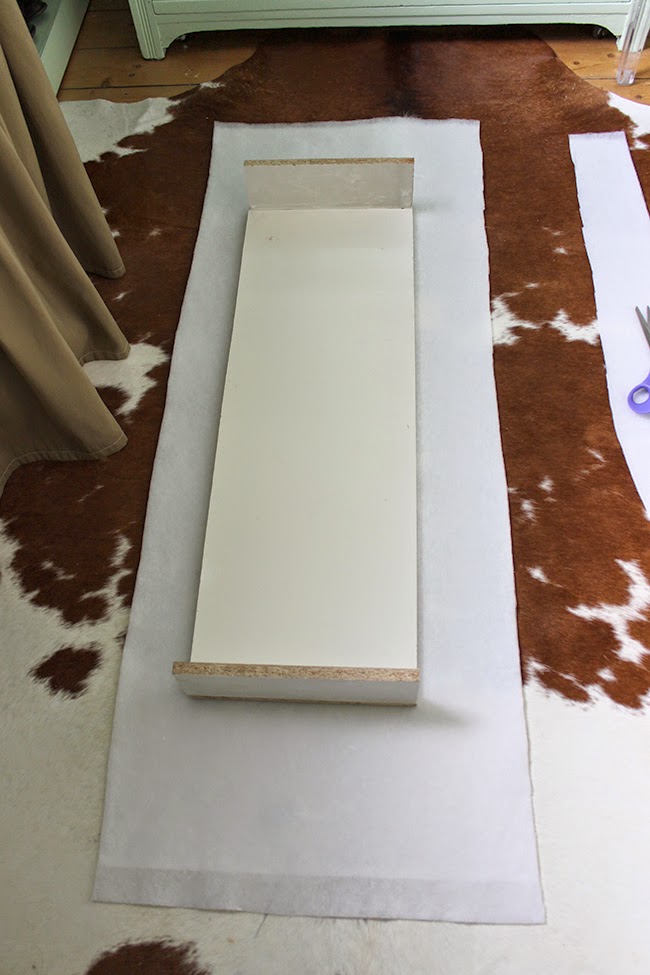
Once the glue was dried I cut my batting (or wadding as its called in the UK – see? 13 years in this country and I’m still learning new words) to size… You want to make sure you have enough to wrap around each side.
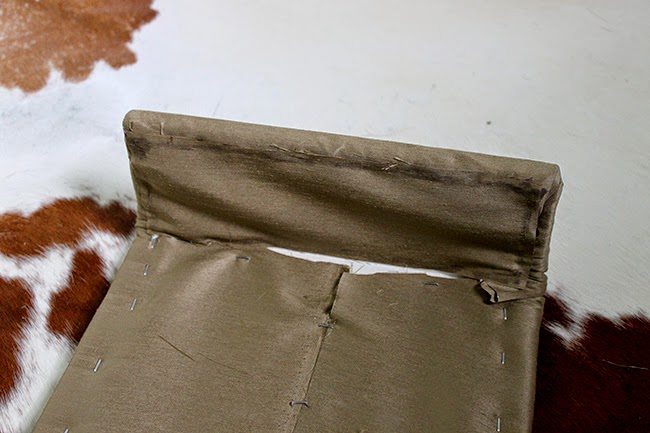
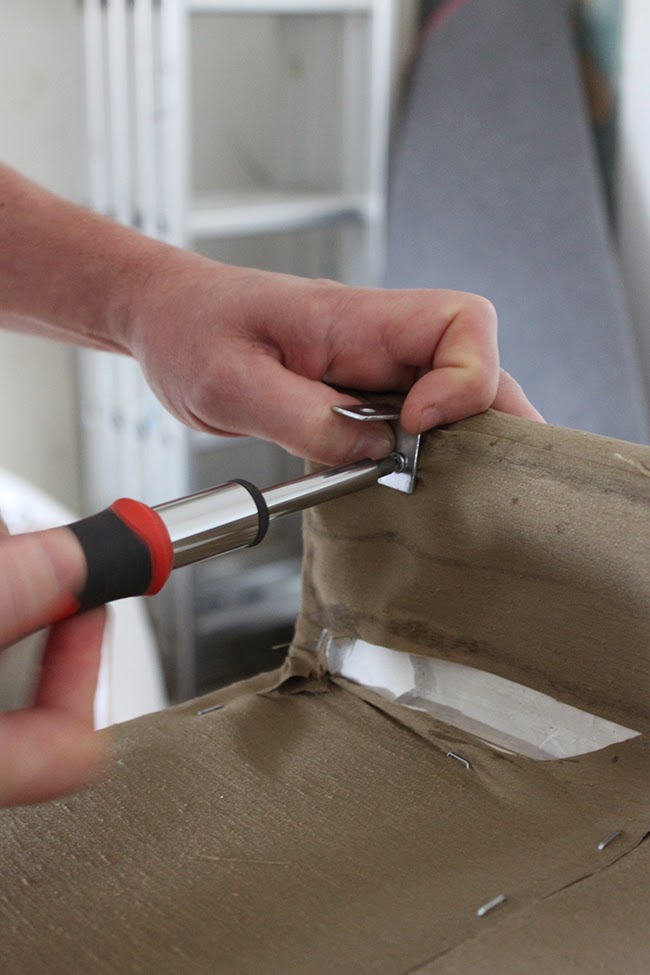
And then using a staple gun, start by wrapping it around tightly at each side, pulling the material taught and alternating from side to side as you staple so the material stays straight.

Once it’s stapled nice and tight all the way around, you just want to cut off the excess material.
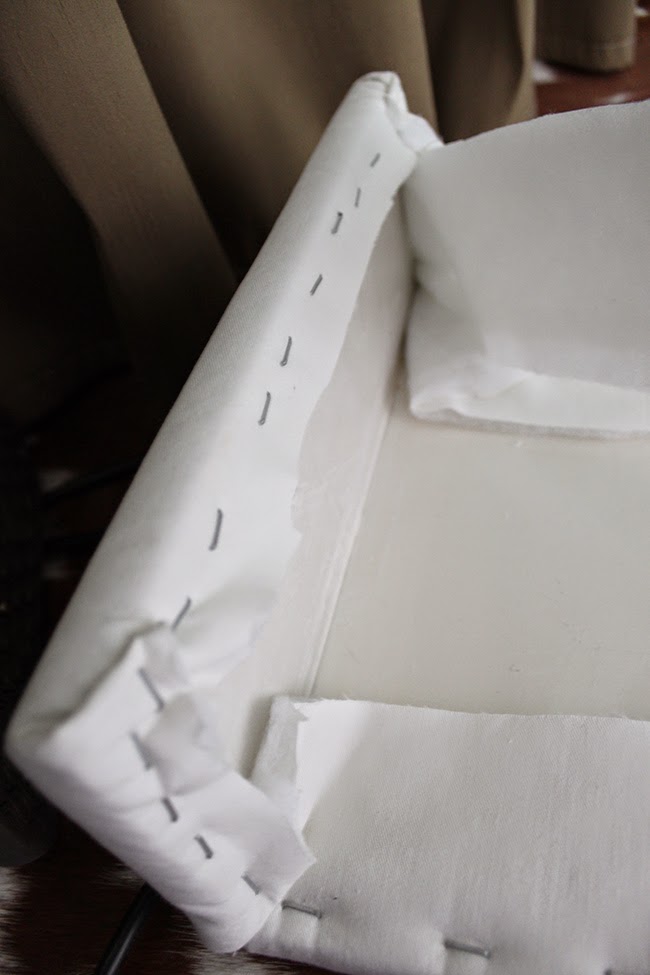
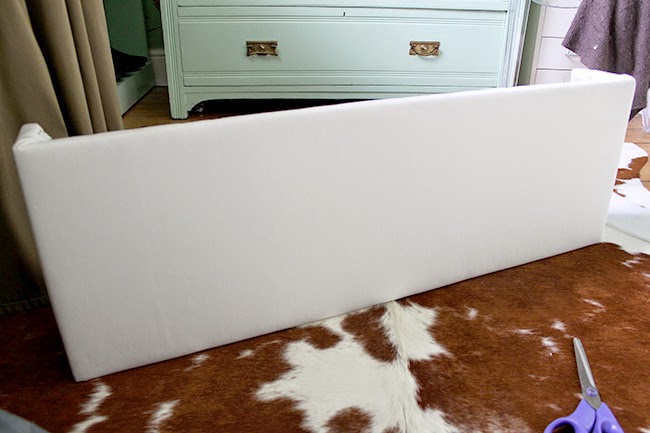
You should end up with something that looks like this…
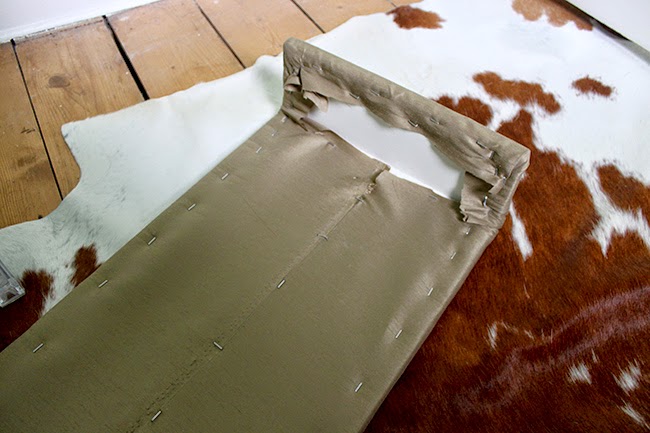
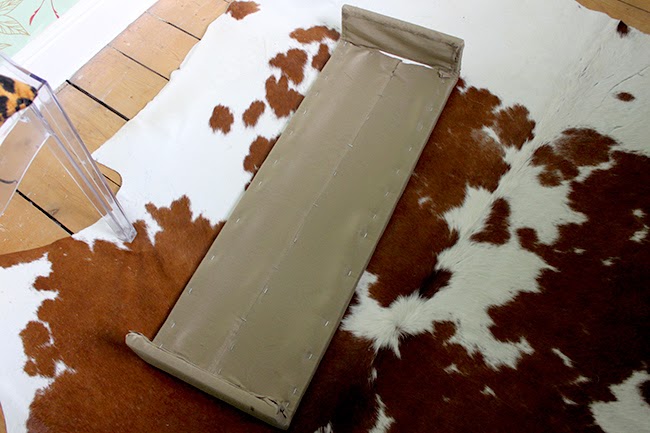
Now it’s the turn of your fabric… it is exactly the same process, alternating your stapling and pulling it taught and keeping the fabric straight as you go. Trim the excess fabric when you are done.
Because I’m a complete weirdo, that weird gap on the sides really bothered me. So if you too are OCD, then you can do what I did which was cut a piece of fabric out and using fabric glue, cover up all those gnarly staples.
Ahhh that’s better. Okay, now you should end up with something like this…
So now it’s time to add the nailhead trim…
It’s rather easy really. Using a straight edge, I just made some light pencil lines where I wanted my trim to go.
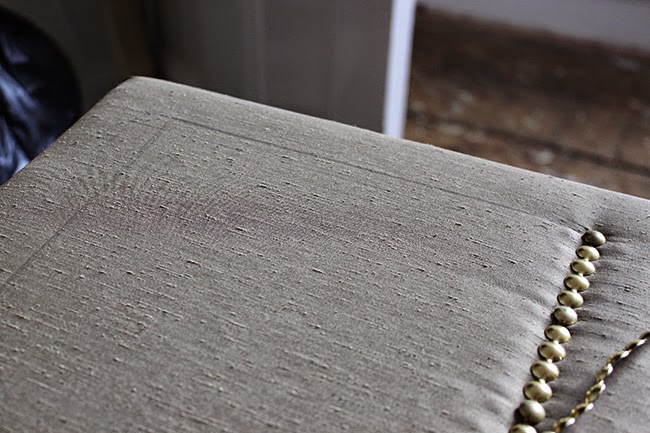
And aligned my nailhead to those lines and then hammered in the tacks that hold the strips into place. It’s not perfect but it’ll do! ;)
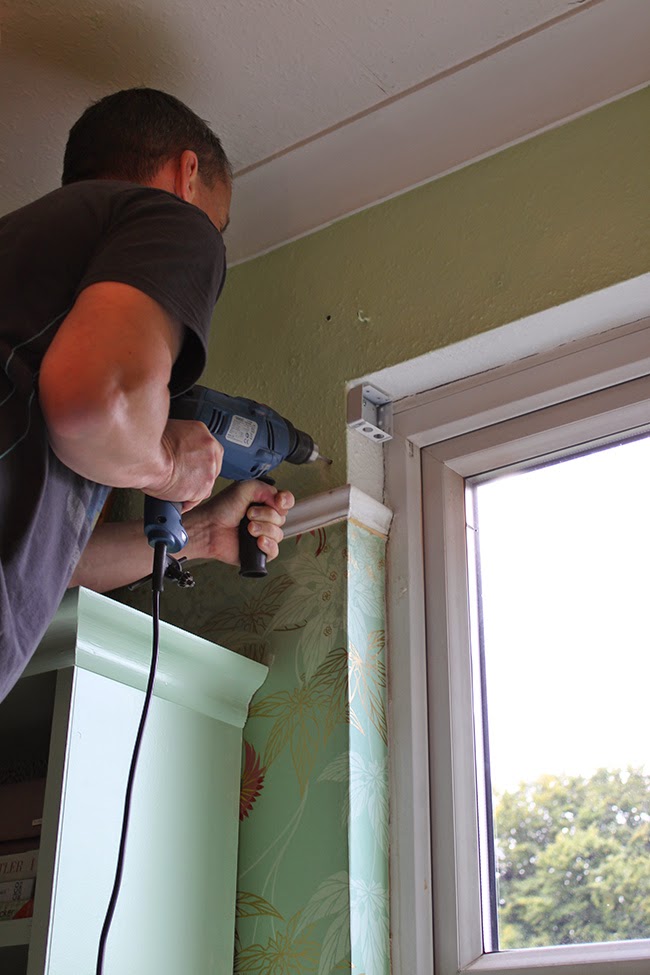
And then it was time to hang it! We attached some simple brackets to the back…
And used wall fixings to hold it in place…
And then hung it!
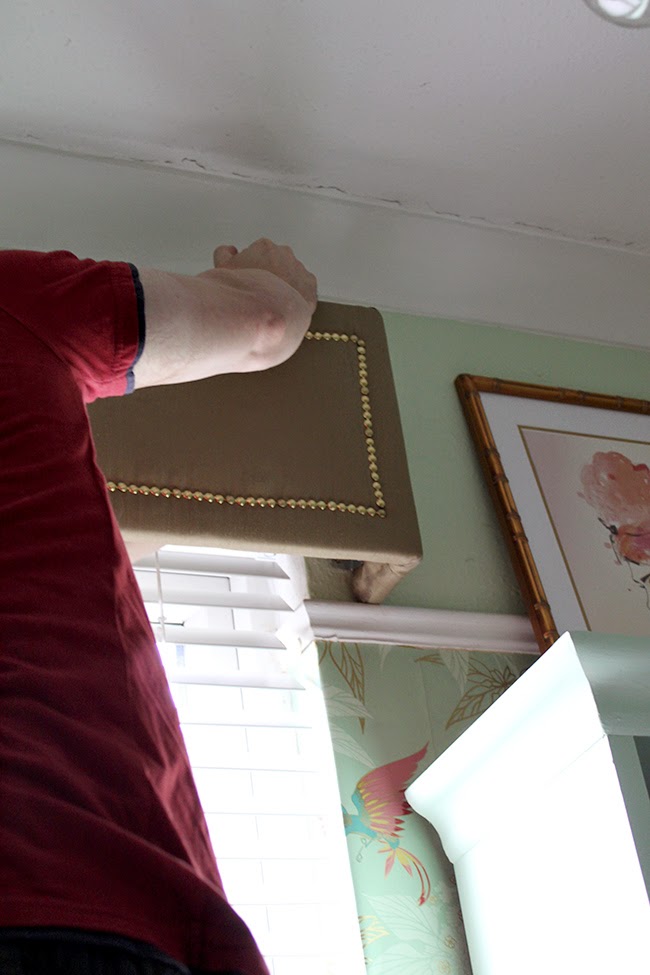
And that’s it!
It’s so ridiculously easy that I am considering now making another one for the dining room.
Is this something you would try?


Nice finishing touch xxx
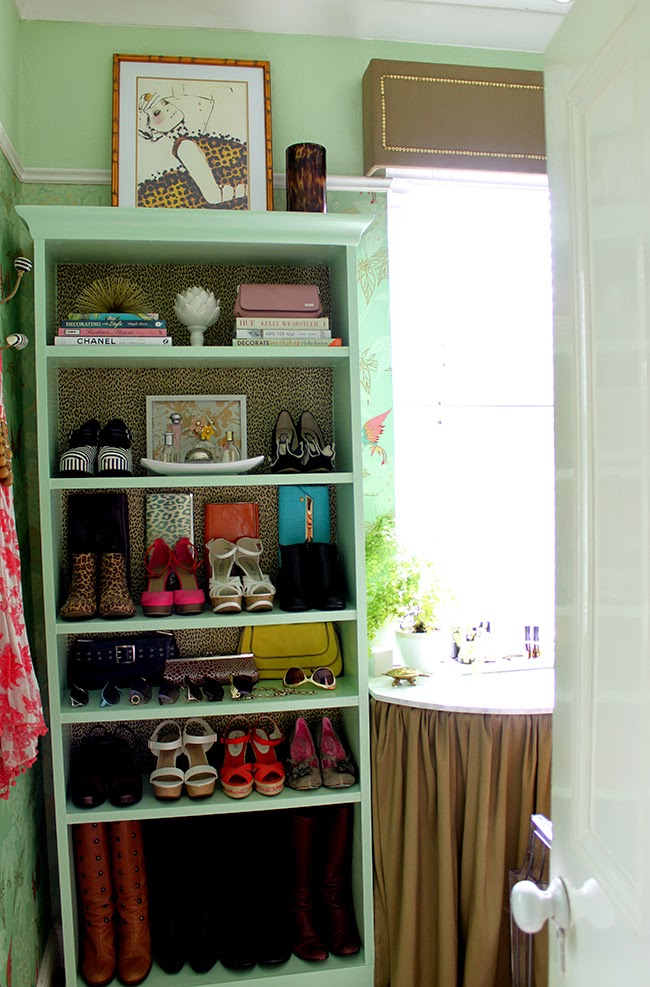
Nice job, this looks amazing!!! I am rather partial to a brass nailhead or 300, absolutely love this pelmet. Also LOVING the leopard backing on your shoe display shelving. Have a fab weekend my dear!xx
I can't believe how easy it actually is to make a pelmet! Or at least you make it look easy. I think this would actually be a perfect project for my brospeh's man cave office … I just took a quick look back at the pictures of his room to see if it would work, but unfortunately his closet doors are like RIGHT THERE IN THE WAY and I think a pelmet would get in the way of the doors. Well,
It looks great! I’ve been actually thinking of making a pelmet for my bedroom, but I was a bit scared I would totally ruin it. I find your tutorial informative enough to try! Thanks!